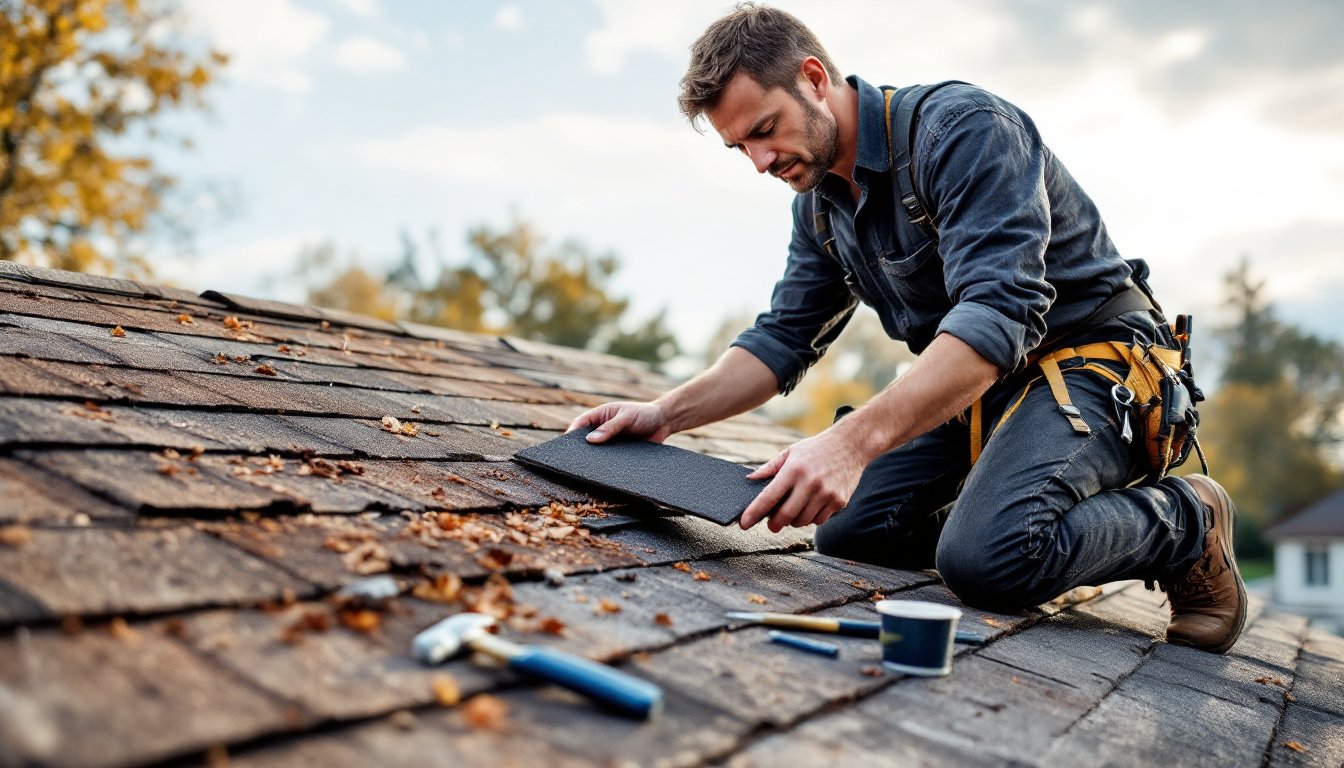
A few damaged shingles might not seem urgent, but left unchecked, they can lead to leaks, wood rot, and expensive interior damage. Most homeowners can handle minor shingle repairs without climbing the contractor ladder, literally and figuratively. Whether it’s a wind-torn tab, a curled edge, or a missing shingle exposing felt paper, catching problems early saves money and extends the life of the roof. This guide walks through identifying damage, gathering the right tools, and executing repairs that hold up through seasons of weather. For straightforward replacements, a Saturday morning and basic roofing know-how are all that’s needed.
Table of Contents
ToggleKey Takeaways
- Early detection of shingle roof damage—including missing shingles, curling, cracks, and granule loss—prevents costly leaks and wood rot that compromise your home’s structure.
- Shingle roof repair is a manageable DIY project for homeowners with minor damage (fewer than 10–15 shingles) on single-story roofs with pitches of 6:12 or less, using basic tools and roofing cement.
- Proper techniques like warming curled shingles before re-adhesion, nailing flush without overdriving, and sealing nail heads with roofing cement ensure repairs last through multiple seasons of weather.
- Call a professional roofer if damage is widespread, the roof is steep or multi-story, decking is soft or sagging, or if your roof is under warranty or nearing the end of its 18–25 year lifespan.
- Always inspect roofs twice yearly (spring and fall), document damage with photos and measurements, and avoid working in cold, hot, or wet conditions to prevent shingle brittleness, tearing, or safety hazards.
- For storm-related damage, contact your insurer first and allow inspection before making repairs, as DIY work done prematurely can complicate insurance claims.
Identifying Common Shingle Roof Damage
Start inspections from the ground with binoculars before climbing. Look for missing shingles, visible as dark patches where underlayment shows through, or tabs that have blown off entirely. Check for curling, where shingle edges lift and cup upward, common in older roofs past their 15-year mark.
Cracked or split shingles appear as linear breaks, often caused by thermal expansion and contraction cycles. These cracks let water penetrate straight to the decking. Granule loss shows up as bald spots: while some shedding is normal for aging asphalt shingles, excessive loss (often visible in gutters as dark grit) means the shingle’s protective layer is failing.
Lifted or blown-back shingles stay attached but no longer seal flat against the roof. Wind gets underneath and accelerates deterioration. Nail pops create small bumps where fasteners have backed out, breaking the shingle seal.
Inspect after major storms and twice yearly, spring and fall. Binoculars work for most checks, but if climbing is necessary, use a roof ladder with hooks that clear the eaves and distribute weight. Never walk a roof steeper than 6:12 pitch without fall protection. Ice, morning dew, and algae make any roof slippery: choose dry, mild days for inspections.
Document damage with photos and measurements. Count affected shingles and note their location (e.g., “north slope, third course from ridge, four shingles west of chimney”). This helps when buying materials and deciding whether to DIY or call in pros.
Essential Tools and Materials for Shingle Repair
Gather everything before starting. Roofing work moves fast once you’re up there, and multiple trips up a ladder waste time and energy.
Tools:
- Flat pry bar (12″ to 18″) for lifting shingle edges and removing nails without tearing surrounding material
- Roofing hammer or standard claw hammer, roofing hammers have a hatchet edge for trimming shingles, but either works
- Utility knife with hooked roofing blades for clean cuts through asphalt and fiberglass
- Caulk gun for applying sealant
- Ladder tall enough to reach the eaves plus 3 feet, ideally with standoff brackets to avoid gutter damage
- Roof brackets and planks if working on steep pitches (over 6:12)
Materials:
- Replacement shingles matching existing color, style, and thickness. Bring a sample or photo to the supplier. Three-tab shingles are easier to match than architectural styles. Buy a few extra, colors vary slightly between production runs.
- Roofing nails (1¼” for standard roofs, longer if replacing over thick materials). Use galvanized or aluminum to resist rust.
- Roofing cement or sealant (not standard construction adhesive). Comes in tubes for caulk guns or trowel-grade tubs.
- Peel-and-stick roofing tape for sealing small cracks or securing lifted edges temporarily.
Safety Gear (Non-Negotiable):
- Work gloves with grip palms, asphalt shingles have sharp edges and hot granules on sunny days
- Rubber-soled boots with good tread: avoid smooth soles
- Safety glasses to protect from debris when prying nails
- Knee pads if kneeling for extended periods
- Fall protection harness and anchor for roofs steeper than 6:12 or higher than one story
Work only in dry conditions with temperatures between 50°F and 85°F. Cold makes shingles brittle: heat makes them soft and easy to tear. Avoid windy days, gusts can catch lifted shingles or knock tools off the roof.
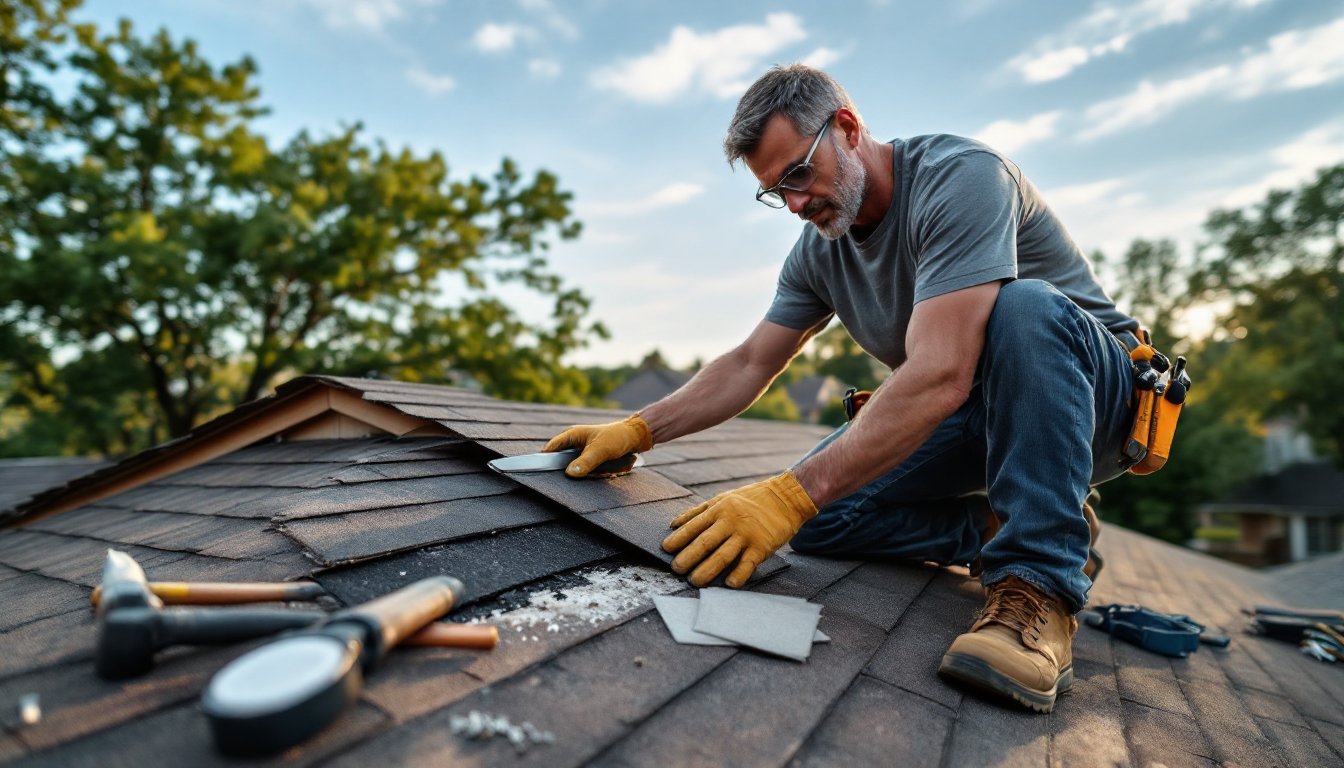
Step-by-Step Guide to Repairing Damaged Shingles
Replacing Individual Shingles
1. Remove the damaged shingle. Lift the shingle directly above the damaged one carefully, don’t bend it back hard or it’ll crack. Slide the flat pry bar underneath and locate the nails (typically four per shingle on three-tab styles, six on architectural). Pry each nail up slowly. If a nail head is covered by the shingle two courses above, lift that one too.
2. Pull out the old shingle. Once nails are loose, slide it free. Inspect the underlayment (tar paper or synthetic felt) beneath. If it’s torn or damaged, patch it with a piece of peel-and-stick roofing membrane or roofing felt cut to size and secured with roofing cement.
3. Cut and fit the new shingle. Trim if necessary to match the exposed tab width (typically 5″ for three-tab shingles). Slide the replacement up into position so it aligns with adjacent shingles. The top edge should sit flush under the shingle above.
4. Nail it down. Drive four roofing nails, one at each corner, about ¾” from the edge and just below the adhesive strip (the black tar line visible on the back). Don’t overdrive: the nail head should sit flush, not dimple the shingle. Overdriving creates leak points.
5. Seal the shingle above. Lift the overlapping shingle and apply a quarter-sized dab of roofing cement under each tab above the new nails. Press it down firmly. The cement bonds the layers and waterproofs nail penetrations.
6. Seal edges and tabs. If the replacement shingle doesn’t have an intact adhesive strip (common with older stock), add small dabs of roofing cement under each tab edge to prevent wind lift.
Many homeowners find that addressing roof repair and maintenance issues early reduces the need for full replacements and keeps costs manageable.
Fixing Curled or Lifted Shingles
Curled shingles often still have life left, they just need re-adhesion. Don’t replace them unless they’re cracked or brittle.
1. Warm the shingle. On cool days, use a heat gun or hair dryer on low setting to soften the asphalt. This makes it pliable and less likely to crack when flattened. Don’t overheat or hold the heat source in one spot, move it constantly.
2. Apply roofing cement. Lift the curled edge gently and spread a thin layer of roofing cement underneath with a putty knife or gloved finger. Cover the entire curled area, extending an inch beyond the curl.
3. Press and weight it down. Push the shingle flat and hold for 10 seconds. Place a brick or flat board on top to maintain pressure while the cement sets, about 20 to 30 minutes. Don’t leave weights overnight: they can mark the shingle or trap moisture.
4. Seal the nail line. If nails have popped or lifted, carefully hammer them back flush (don’t overdrive). Cover each nail head with a small dab of cement and press the shingle down over it.
5. Check the bond. Return after the cement has cured (24 hours in mild weather) and tug gently on the edge. It should resist lifting. If it’s still loose, add more cement and reweight.
Lifted shingles caused by blown nails or poor initial installation sometimes need new nails driven in fresh locations, slightly offset from old holes. Always seal new nail heads with roofing cement.
When to Call a Professional vs. DIY Repair
DIY is suitable when:
- Damage is limited to fewer than 10–15 shingles in a localized area
- The roof pitch is 6:12 or less and single-story height
- There’s no structural damage, the decking beneath feels solid when walked on (no spongy spots)
- Underlayment is intact or only needs minor patching
- The homeowner is comfortable with ladder work and basic hand tools
Call a professional if:
- Damage is widespread (more than 20% of a roof slope) or affects multiple slopes. At that scale, replacement often makes more financial sense than piecemeal repairs, especially if the roof is over 15 years old.
- The roof is steep (over 8:12 pitch) or multi-story. Fall risk outweighs DIY savings. According to safety data compiled by industry groups, falls from roofs account for a significant portion of homeowner injuries.
- Decking damage is evident, soft spots, visible sagging, or water stains on interior ceilings. This requires structural carpentry, not just shingle work.
- Flashing around chimneys, vents, or valleys is damaged. Flashing repair demands precision and soldering or specialized sealants to prevent leaks.
- The roof is under warranty. Some manufacturers void coverage if non-certified contractors (including DIYers) perform repairs.
- Permit requirements apply. Some jurisdictions require permits for roofing work beyond minor repairs. Check with the local building department.
For those unsure about tackling extensive damage, comparing asphalt shingle replacement costs to repair expenses helps in deciding the best approach. Homeowners can also find trustworthy contractors and service reviews on platforms like Angi to evaluate local options.
Insurance considerations: If storm damage is involved, document everything before making repairs. Insurers often require inspection and photos. DIY repairs done before an adjuster visits can complicate claims. For storm-related damage, contact the insurer first, then decide whether to DIY or wait for professional estimates.
Age matters: Roofs nearing the end of their lifespan (18–25 years for asphalt shingles) may not justify extensive DIY investment. If more than a third of the roof shows wear, budget for replacement rather than sinking time and money into repairs that buy only a year or two.
Many homeowners consult resources like Today’s Homeowner for guidance on project scope, seasonal maintenance, and when to escalate from DIY to professional help.
Conclusion
Shingle roof repairs don’t demand a contractor’s skill set for most common damage. Replacing a few wind-torn shingles or re-securing curled edges protects the home and preserves the roof’s remaining years. The key is catching problems early, working safely, and knowing when a project outgrows DIY scope. Regular inspections, the right materials, and a methodical approach turn roof repair from an intimidating emergency into manageable maintenance.