Milwaukee power tools are built to take a beating on job sites and in home workshops, but even the toughest drills, impact drivers, and saws eventually need attention. Whether it’s a battery that won’t hold a charge, a motor that’s lost its punch, or a tool that just won’t fire up, knowing when to DIY and when to call in the pros can save hundreds of dollars and extend the life of your investment. This guide walks through warranty coverage, common failures, practical home repairs, and the point where professional help makes sense, no fluff, just straight answers for getting Milwaukee tools back in action.
Table of Contents
ToggleKey Takeaways
- Most Milwaukee cordless power tools carry a 3-year limited warranty covering defects in material and workmanship, but damage from drops, water, or misuse voids coverage—always keep proof of purchase organized.
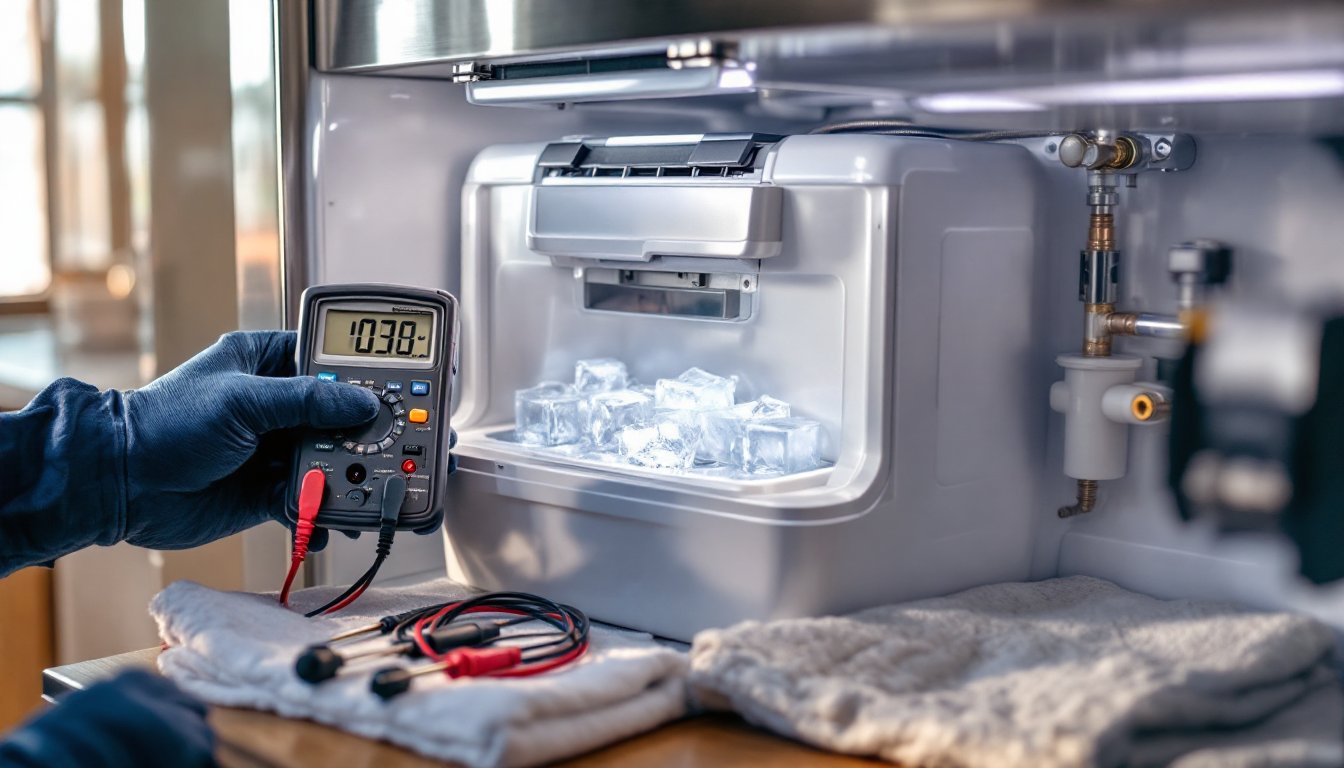
- Common Milwaukee tools battery issues stem from corroded terminals, charger malfunction, or cell degradation; inspect and clean contacts with fine-grit sandpaper, and test with a known-good charger to diagnose the problem.
- DIY Milwaukee tools repair for homeowners includes chuck replacement, switch replacement, brush swaps on brushed motors, and gearbox regreasing—all achievable with basic hand tools and under 30 minutes per job.
- Battery rebuilding, motor control board replacement, and impact mechanism repair require professional Milwaukee tools service due to specialized equipment, complex electronics, and safety risks that exceed DIY skill levels.
- Unauthorized repairs void warranty coverage immediately, so use only Milwaukee authorized service centers or independent certified repair shops, which typically charge $40-200 depending on repair complexity.
Understanding Milwaukee Tools Warranty and Repair Coverage
Milwaukee offers different warranty tiers depending on the product line. Most cordless power tools in the M12 and M18 families carry a 3-year limited warranty that covers defects in material and workmanship. Hand tools often come with a limited lifetime warranty, while accessories like batteries and chargers typically get 1-3 years of coverage.
To make a warranty claim, users need proof of purchase, either a dated receipt or online order confirmation. Milwaukee’s service centers and authorized repair facilities handle warranty work at no cost if the tool hasn’t been abused, modified, or exposed to conditions beyond normal wear. Damage from drops, water immersion, or running a tool beyond its duty cycle usually voids coverage.
Registering tools online at Milwaukee’s website can streamline the claims process, though it’s not mandatory for warranty activation. Keep records organized in a dedicated folder or digital file: misplaced receipts are the most common reason warranty claims get denied.
Warranty service typically takes 7-14 business days once the tool reaches a service center, though parts availability and shipping can stretch timelines during peak seasons. For faster turnarounds, some independent tool repair specialists offer same-day diagnostics, but using unauthorized repair shops will void any remaining warranty coverage.
Common Milwaukee Tool Problems and How to Diagnose Them
Battery and Charging Issues
Battery complaints top the list of Milwaukee tool failures. A pack that won’t charge, dies quickly, or shows inconsistent power output usually points to one of three culprits: cell degradation, charger malfunction, or poor contact between battery and tool.
First, inspect the battery terminals for corrosion, dust, or debris. A pencil eraser or fine-grit sandpaper (220-grit) can clean light oxidation without damaging contacts. If multiple batteries fail to charge on the same unit, the charger’s likely at fault, test with a known-good charger to confirm.
Lithium-ion cells degrade over time, especially when stored fully charged or discharged in extreme temperatures. A battery that’s seen heavy use for 3-5 years may only hold 60-70% of its original capacity. Milwaukee’s fuel gauge (the LED indicator on packs) helps track this: if all four lights blink rapidly when off the charger, the pack’s protection circuit has tripped due to over-discharge or thermal shutdown. Let the pack cool for 30 minutes, then retry.
For packs that won’t wake up at all, a “dead” battery sometimes just needs a jump-start. Advanced DIYers with multimeter experience can attempt cell balancing, but this involves opening the pack, something Milwaukee doesn’t support and which voids warranty immediately.
Motor and Performance Problems
Loss of power, unusual noise, or intermittent operation often trace back to worn brushes (on brushed models), damaged armature windings, or failed trigger switches.
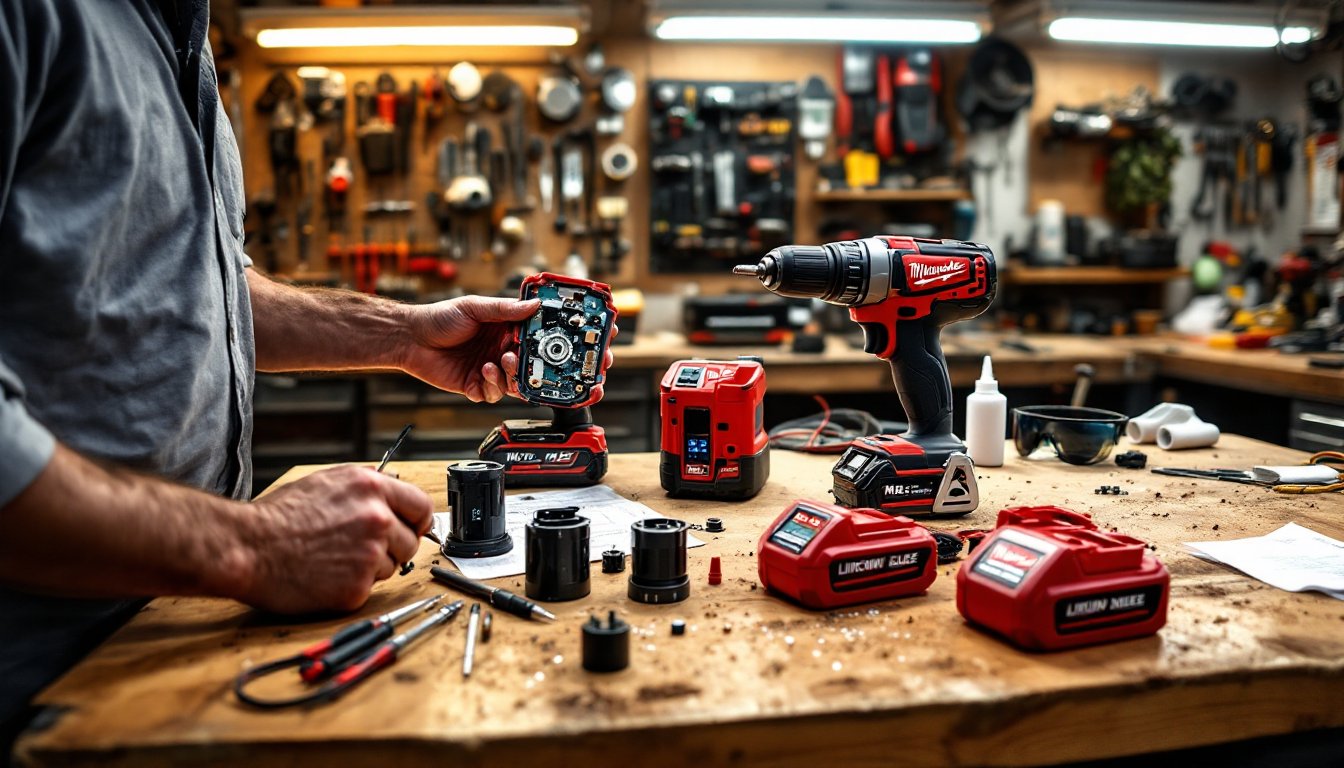
Brushed motors, found in older Milwaukee tools and some budget M12 models, use carbon brushes that wear down over time. When brushes drop below 1/4 inch in length, the tool loses torque and may spark excessively. Most brushed Milwaukee tools have accessible brush caps (small plastic covers on the motor housing). Remove them with a flathead screwdriver, pull out the old brushes with needle-nose pliers, and compare length to new replacements. Milwaukee-specific brush sets run $8-15 online and take 10 minutes to swap.
Brushless tools eliminate this wear point but aren’t immune to failure. If a brushless drill or impact driver runs weakly or stutters under load, the issue usually sits in the trigger assembly or motor control board. Testing requires a multimeter set to continuity mode: disconnect the battery, remove the tool housing (typically 4-6 Torx screws, size T10 or T15), and check that the trigger’s microswitch clicks cleanly and shows continuity when depressed. A faulty switch reads open (infinite resistance) even when pressed.
Gear noise, grinding, whining, or clicking, suggests damaged planetary gears or insufficient lubrication. Many professionals recommend trusted brands for consistency in build quality, but even top-tier tools need periodic grease replenishment. Open the gearbox (after removing the chuck and housing), clean old grease with a rag and mineral spirits, and repack with white lithium grease or Milwaukee-branded synthetic grease. Most gearboxes hold 1-2 tablespoons.
DIY Milwaukee Tool Repairs You Can Do at Home
Several Milwaukee repairs fall within the skill range of a confident DIYer with basic hand tools and a clean workspace.
Chuck replacement is one of the most common fixes. Drills and drivers take a beating, and chucks eventually strip or wobble. Milwaukee drills use either a keyed chuck (older models) or keyless chuck (most M12/M18 tools). To remove a keyless chuck: open the jaws fully, locate the left-hand thread screw inside (reverse thread, turn clockwise to loosen), remove it, then grip the chuck body with a pipe wrench and turn counterclockwise. Replacement chucks run $20-40 and install in reverse order. Apply a drop of medium-strength threadlocker (blue Loctite 242) to the retaining screw.
Switch replacement is straightforward on most Milwaukee drills and saws. After opening the housing (wear safety glasses, small springs can fly out), the trigger assembly typically mounts with 2-4 screws. Disconnect the wire leads (photograph connections first with a phone camera), install the new switch, and reassemble. Replacement switches cost $15-30 and are model-specific, verify part numbers before ordering.
Cord replacement on corded tools requires basic soldering skills. Cut the damaged cord, strip 1/2 inch of insulation from each wire, twist strands tight, solder connections, and insulate with heat-shrink tubing (not electrical tape, which degrades). Always match wire gauge: most Milwaukee corded tools use 14 AWG or 12 AWG for higher-draw models.
Cleaning and lubrication prevent many failures. Every 50-100 hours of use, blow out dust with compressed air (hold the trigger to keep the motor from spinning), wipe down cooling vents, and check for loose screws. Gearboxes on impact drivers and hammer drills benefit from fresh grease every 12-18 months under heavy use.
Safety note: Always disconnect batteries or unplug corded tools before opening housings. Capacitors in some tools can hold a charge even when off. Wear cut-resistant gloves when handling metal housings with sharp edges.
When to Seek Professional Milwaukee Tool Repair Services
Some repairs exceed the DIY threshold due to specialized tools, safety risks, or warranty implications.
Battery pack rebuilding requires lithium-ion handling knowledge, spot welding equipment, and careful management of cell chemistry. A mistake can cause thermal runaway, Milwaukee and most repair experts recommend professional service or replacement for damaged packs. Rebuilding saves 30-50% versus buying new, but only authorized shops should attempt it.
Motor and control board replacement on brushless tools involves diagnosing complex electronics and matching replacement parts to specific production runs. Milwaukee uses proprietary control boards that aren’t sold retail: service centers source them directly from the manufacturer. Labor typically runs $60-100, plus parts, with turnaround in 5-10 business days.
Impact mechanism repair on impact drivers and wrenches requires specialized tools to disassemble the anvil, hammer, and spring assembly without damage. These components operate under extreme force: improper reassembly can cause catastrophic failure mid-use. Professional repair is safer and often cheaper than buying replacement internal assemblies piecemeal.
Warranty work should always go through authorized channels. Milwaukee’s service network includes factory-owned centers and independent authorized repair shops. Find the nearest location through Milwaukee’s website or customer service line. Attempting DIY repair on a tool still under warranty forfeits coverage, even if the repair isn’t related to the original defect.
For tools with sentimental or high replacement value (like discontinued models or limited editions), professional refurbishment makes economic sense. A $150 repair on a tool that would cost $400 to replace beats buying new.
Cost considerations vary by region and tool type. Simple repairs (switch replacement, brush change) run $40-80 at most shops, while complex motor work can hit $150-200. Always get a written estimate before authorizing work. Some shops charge $25-50 diagnostic fees that apply toward repair costs if you proceed.
Conclusion
Milwaukee tools earn their reputation through durability, but no power tool lasts forever without maintenance. Understanding warranty terms, diagnosing common failures, and knowing which repairs to tackle versus outsource keeps tools running for years beyond their expected lifespan. Start with the simplest fixes, cleaning contacts, replacing brushes, swapping switches, and escalate to professionals when electronics, batteries, or complex assemblies are involved. A well-maintained Milwaukee tool outperforms a neglected one every time.