Fisher & Paykel dishwashers are known for their unique drawer designs and solid engineering, but like any appliance, they can develop problems over time. Before you call a repair tech and shell out $150-300 for a service visit, many common issues can be diagnosed and fixed with basic tools and a little patience. This guide walks through the most frequent Fisher & Paykel dishwasher problems, from won’t-start scenarios to water leaks, and shows you which repairs you can tackle yourself and when it’s time to bring in a professional. Whether you have a DishDrawer or a full-size model, understanding how your machine works will save you time and money.
Table of Contents
ToggleKey Takeaways
- Fisher & Paykel dishwasher repair often requires only basic tools and troubleshooting—checking power, cleaning filters, and inspecting hoses can resolve most common issues before calling a technician.
- The three most frequent Fisher & Paykel dishwasher problems are won’t-start issues (usually traced to power, door latch, or control board), poor cleaning performance (typically caused by clogged spray arms or filters), and water leaks (often from worn gaskets or loose hose connections).
- DIY-friendly repairs include cleaning spray arms, replacing door gaskets and latches, clearing drains, and swapping water inlet valves, while pump replacement and control board diagnostics should generally be left to professionals.
- Always disconnect power at the breaker before starting any repair, keep your model number handy for accurate parts sourcing, and consult your owner’s manual for wiring diagrams specific to your unit.
- Service calls for dishwasher repair average $150–300 nationally; if your unit is over 10 years old and repairs exceed 50% of a new dishwasher’s cost, replacement is often the more economical choice.
Understanding Your Fisher & Paykel Dishwasher Before You Start
Fisher & Paykel builds two main dishwasher types: the iconic DishDrawer models (single or double drawer) and traditional full-size units. The drawer models use independent motors and pumps for each drawer, which means more potential failure points but also easier component access.
Before starting any repair, always disconnect power at the breaker, not just the control panel button. Fisher & Paykel units typically draw 10-15 amps and use 120V power. Most models have a small kickplate at the base that pops off with a flathead screwdriver, giving access to the water supply line, drain hose, and electrical connections.
Essential tools for most repairs:
- Phillips and flathead screwdrivers
- Needle-nose pliers
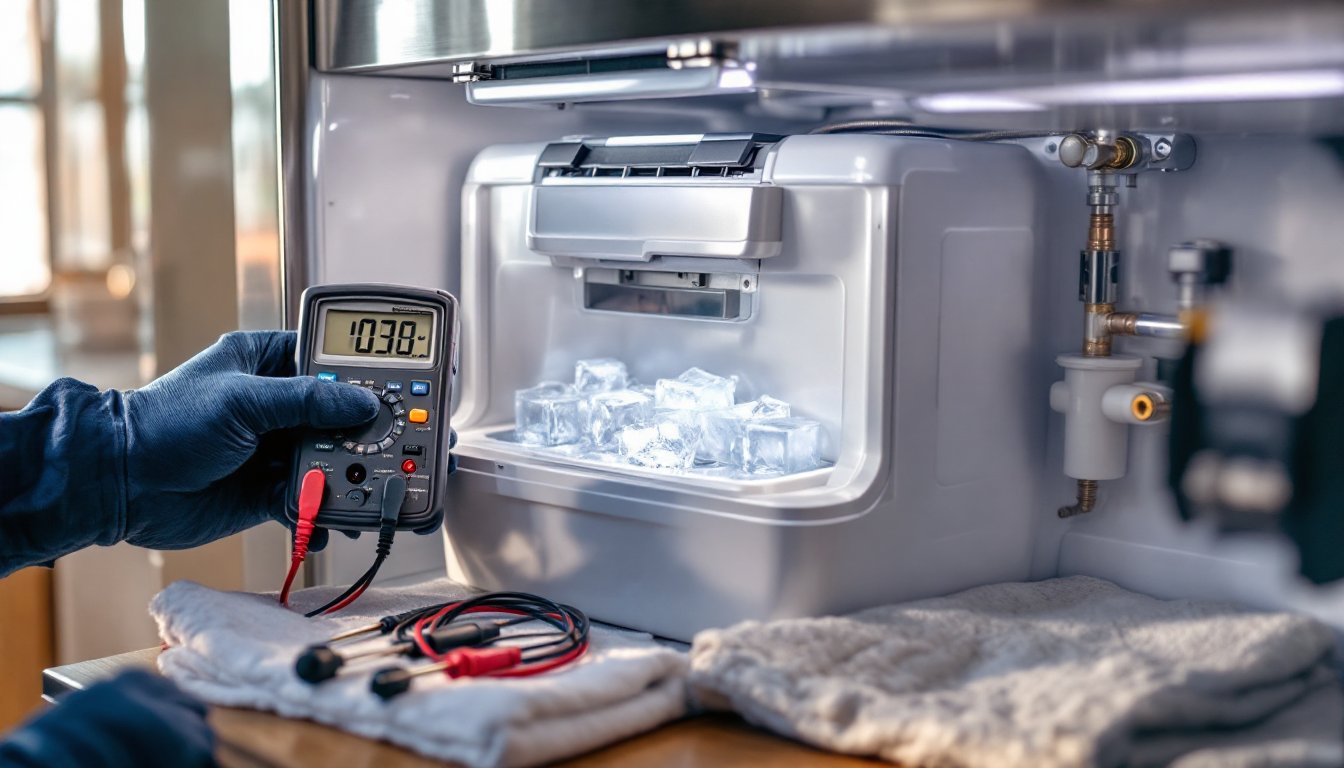
- Multimeter (for testing electrical components)
- Flashlight or headlamp
- Bucket and towels (for water spillage)
- Hex key set (some models use Torx fasteners)
Keep your model number handy, it’s usually on a label inside the door edge or on the side panel. Fisher & Paykel uses alphanumeric codes like DD24 (double drawer, 24-inch) or DD60 (double drawer, 60cm). Parts availability varies by model age, with newer units having better aftermarket support.
Always consult your owner’s manual for wiring diagrams and component locations specific to your model. Fisher & Paykel provides downloadable PDFs on their website if you’ve lost the original.
Most Common Fisher & Paykel Dishwasher Problems and Solutions
Dishwasher Won’t Start or Turn On
A dead dishwasher usually points to one of three culprits: power supply, door latch, or control board.
Check power first. Verify the breaker hasn’t tripped. Fisher & Paykel dishwashers don’t have a visible reset button like some appliances, you reset them by cutting power for 60 seconds at the breaker, then restoring it. If the control panel lights up but won’t start a cycle, the issue isn’t power.
Test the door latch mechanism. DishDrawer models use a magnetic latch system: full-size units have a mechanical strike plate. The dishwasher won’t start if the door sensor doesn’t register “closed.” Open the drawer or door and inspect the latch for debris, cracks, or misalignment. Clean any buildup with a damp cloth. If the latch is broken, replacement latches run $25-60 and snap into place with one or two screws, no special tools needed.
Inspect the control board. If power is good and the latch works but the unit still won’t start, the electronic control board may have failed. This is more common in models over 7-8 years old. Control boards cost $150-300 depending on the model. Replacing one requires removing the front panel (usually 4-6 screws along the top edge), disconnecting the wire harness, and swapping the board. Take photos of wire positions before disconnecting anything.
Some owners report success with a “hard reset”: power off at breaker for 5 minutes, then power back on while holding down the Start button for 10 seconds. This clears error codes on certain models, though it’s not officially documented by Fisher & Paykel.
Poor Cleaning Performance or Dishes Still Dirty
When dishes come out spotted, filmy, or still coated with food, the problem is usually water delivery, detergent, or spray arm blockage, not the dishwasher’s age.
Check spray arm rotation. Remove the lower and upper spray arms (they usually twist counterclockwise or pull straight up). Hold them under running water and use a toothpick to clear any blocked holes. Hard water minerals and food particles clog the small jets over time. Many appliance repair guides recommend soaking spray arms in white vinegar for 30 minutes to dissolve mineral buildup.
Inspect the water inlet valve. Located behind the kickplate, the inlet valve controls water flow into the tub. If the valve screen is clogged with sediment, water pressure drops and cleaning suffers. Shut off the water supply valve under the sink, disconnect the inlet hose, and check the mesh screen inside the valve. Clean it with an old toothbrush. If the valve itself is faulty (you’ll hear a humming but see little water), replacement valves cost $40-80 and bolt in with two screws.
Evaluate detergent and water temperature. Fisher & Paykel dishwashers perform best with water heated to 120-140°F. Run your kitchen tap for a minute before starting the dishwasher to ensure hot water reaches the unit. Use powder or gel detergent designed for dishwashers, not dish soap, which will create a foam disaster. If you have hard water, add a rinse aid to reduce spots.
Clean the filter. Fisher & Paykel models use a cylindrical or flat filter at the tub bottom. Twist it counterclockwise and lift out. Rinse under hot water weekly to prevent grease and debris from recirculating. A clogged filter is the #1 cause of poor cleaning, yet it’s often overlooked.
Water Leaking from Your Dishwasher
Leaks can appear at the door, from underneath, or around the sides. Location tells you a lot about the cause.
Door leaks usually mean a worn door gasket or misaligned door. Inspect the rubber seal around the drawer or door perimeter. Look for cracks, tears, or sections that have pulled away from the groove. Replacement gaskets cost $20-50 and press into a channel without adhesive, just peel out the old one and press in the new. If the gasket looks fine, check door alignment. DishDrawer models can sag over time: full-size doors may need hinge adjustment. Consult the manual for your model’s adjustment procedure.
Leaks from underneath often point to a loose hose clamp, cracked drain hose, or failed pump seal. Remove the kickplate and run a short cycle while watching for drips. Common leak points include:
- Drain hose connection: Tighten the hose clamp with a flathead screwdriver or replace the hose if cracked (usually 5/8-inch ID corrugated hose, available at hardware stores for $10-15 per foot).
- Water inlet connection: Same fix, tighten the compression nut or replace the supply line.
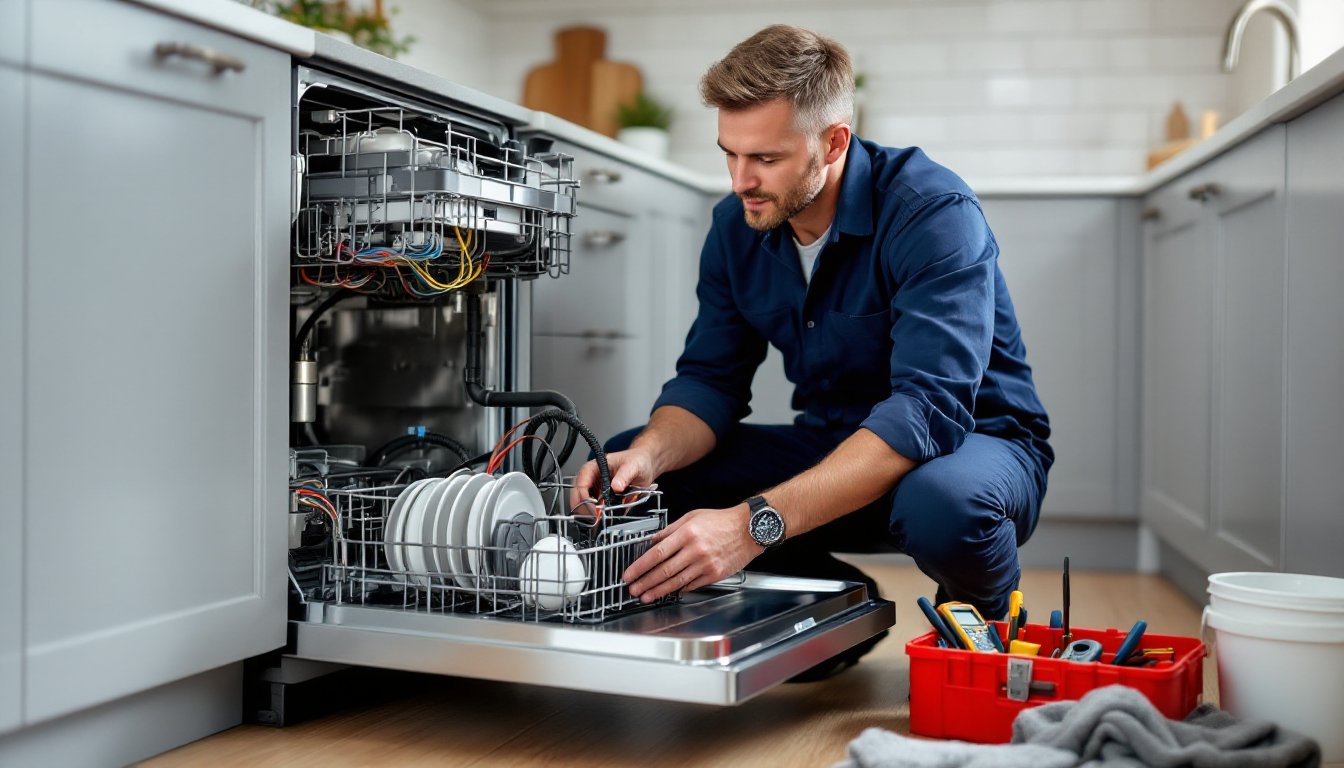
- Pump or motor seal: If water is leaking from the pump housing, the seal has failed. Pump replacement is a bigger job, typically requiring removal of the lower rack, spray arm, filter, and pump assembly. Pumps run $80-200 depending on the model.
Overfill leaks happen when the water level sensor (pressure switch) fails and the tub overfills. You’ll see water spilling from the door vent or pooling underneath. The pressure switch is a small round component near the pump. Test it with a multimeter (it should show continuity when you blow into the attached tube). Replacement switches cost $30-60.
If you’re dealing with recurring leaks and aren’t sure of the source, many homeowners find value in professional diagnostics through services like Angi, where you can compare local appliance techs and read verified reviews before committing to a service call.
When to Call a Professional vs. DIY Repair
Some Fisher & Paykel dishwasher repairs are straightforward: others require specialized knowledge or tools.
Safe for most DIYers:
- Cleaning or replacing spray arms and filters
- Swapping door gaskets or latches
- Clearing drain hoses or checking the air gap
- Replacing the water inlet valve
- Testing and resetting the control board
Consider a professional for:
- Pump or motor replacement. These require partial disassembly of the tub and dealing with electrical and water connections simultaneously. Labor typically runs $150-250 plus parts.
- Control board diagnostics. If you’re not comfortable using a multimeter to test relays and circuit paths, a tech can pinpoint failures faster. Misdiagnosing the board and ordering the wrong part wastes time and money.
- Warranty work. If your dishwasher is under 2 years old, Fisher & Paykel’s factory warranty may cover parts and labor. DIY repairs can void coverage, check your warranty status before cracking the case.
- Recurrent or mysterious leaks. If you’ve replaced hoses and gaskets but still see water, there may be a cracked tub or a failed internal seal that’s hard to access.
Before scheduling a service call, check estimated repair costs. According to data from HomeAdvisor, dishwasher repairs average $150-300 nationally, with control boards and pumps on the higher end. If your unit is over 10 years old and the repair estimate exceeds 50% of a new dishwasher’s cost, replacement often makes more financial sense.
Always ask if the repair includes a warranty on parts and labor. Reputable techs offer 90-day to 1-year guarantees. If a quote seems high, get a second opinion, but remember that experienced appliance techs carry insurance, stock parts, and bring diagnostic tools you likely don’t own.
For minor issues, clogged filters, loose hoses, or simple gasket swaps, DIY saves hundreds. For complex electrical or sealed system failures, professional help is worth it.
Conclusion
Fisher & Paykel dishwashers are repairable machines, and many common problems, won’t start, poor cleaning, or leaks, can be fixed with basic tools and some troubleshooting patience. Start with the simplest fixes: check power, clean filters, inspect hoses. If you hit a wall with control boards or sealed pump assemblies, calling a pro is the smart move. Either way, understanding how your dishwasher works puts you in control of the repair decision and keeps your kitchen running smoothly.