A roof isn’t just shingles and tar paper, it’s the first line of defense against Texas weather. Allen homeowners know the drill: hailstorms in spring, scorching summer sun, and the occasional winter freeze that makes shingles brittle. When a roof starts showing wear, the clock starts ticking. A small leak can turn into rotted decking, ruined insulation, and a four-figure repair bill. This guide walks through the most common roof problems in Allen, what you can tackle yourself, and when it’s time to call in a pro.
Table of Contents
ToggleKey Takeaways
- Allen roof repair problems are primarily caused by hail damage, wind-lifted shingles, thermal cycling, and flashing failures that are common in North Texas’s extreme weather conditions.
- DIY shingle replacement works for low-slope roofs with basic tools, but steep-pitch roofs, structural damage, and extensive hail damage affecting over 20% of the roof require professional roofers.
- Bi-annual inspections in spring and fall, gutter cleaning, flashing re-sealing every 5 years, and trimmed overhanging branches prevent costly repairs and extend roof life to 20–30 years in Allen’s climate.
- Safety equipment including fall arrest harnesses, non-slip boots, and proper roofing nails (galvanized or stainless) are non-negotiable for any roof repair work at height.
- When replacing shingles, work on warm days (above 50°F) using matched shingles from the same manufacturer and dye lot, with four nails per shingle and sealed tabs to prevent wind damage.
Common Roof Problems Allen Homeowners Face
Allen’s climate throws a lot at roofs. The combination of intense UV exposure, sudden temperature swings, and severe weather creates a perfect storm for roofing issues.
Hail damage tops the list. North Texas sees frequent hailstorms, and even pea-sized hail can bruise asphalt shingles, knock off granules, and compromise the waterproof seal. Look for dark spots where granules are missing or dents in metal flashing.
Wind-lifted shingles are another frequent problem. Straight-line winds during thunderstorms can peel back shingle tabs or rip them off entirely, especially if the roof is older or the adhesive has degraded. Missing shingles expose underlayment to UV rays and water infiltration.
Thermal cycling, the expansion and contraction caused by Allen’s temperature extremes, can crack sealant around vents, chimneys, and pipe boots. These small cracks are easy to miss but cause serious leaks over time.
Algae and moss growth show up on north-facing slopes that stay shaded and damp. While mostly cosmetic, moss can lift shingle edges and trap moisture, accelerating decay.
Finally, flashing failure around chimneys, skylights, and valleys is common in roofs over 15 years old. Flashing sealant dries out, metal corrodes, and water finds its way into the attic. If you spot water stains on interior ceilings near these features, flashing is the likely culprit.
When to DIY vs. When to Call a Professional
Not all roof repairs are DIY-friendly. Safety, skill level, and the scope of damage all factor into the decision.
You can handle:
- Replacing a handful of damaged or missing shingles on a low-slope roof (4:12 pitch or less)
- Re-sealing small cracks in flashing or pipe boots with roofing cement
- Cleaning algae or debris from gutters and roof valleys
- Applying roof sealant to minor punctures or nail pops
Call a professional for:
- Extensive hail damage affecting more than 20% of the roof (insurance claims often require professional inspections)
- Structural issues like sagging decking, which indicates water damage to rafters or sheathing
- Steep-pitch roofs (8:12 or steeper) where fall risk is high
- Flashing replacement around chimneys or skylights, which requires metal fabrication and proper integration with shingles
- Any repair where you’re uncomfortable working at height
Allen TX roof repair pros carry liability insurance and workers’ comp, which protects you if someone gets hurt. They also know local building codes, Allen falls under the International Residential Code (IRC) but has specific wind rating requirements for shingles due to regional weather patterns.
Roof work is inherently dangerous. According to homeadvisor.com, falls from ladders and roofs account for a significant portion of DIY injuries. If you’re not confident in your footing, don’t risk it. Many roofers offer free inspections and will give you a straight answer on whether a repair is necessary or if you’ve got a few years left.
Essential Tools and Materials for Roof Repairs
Having the right gear makes roof repairs safer and faster. Here’s what you’ll need for basic shingle replacement and minor flashing work.
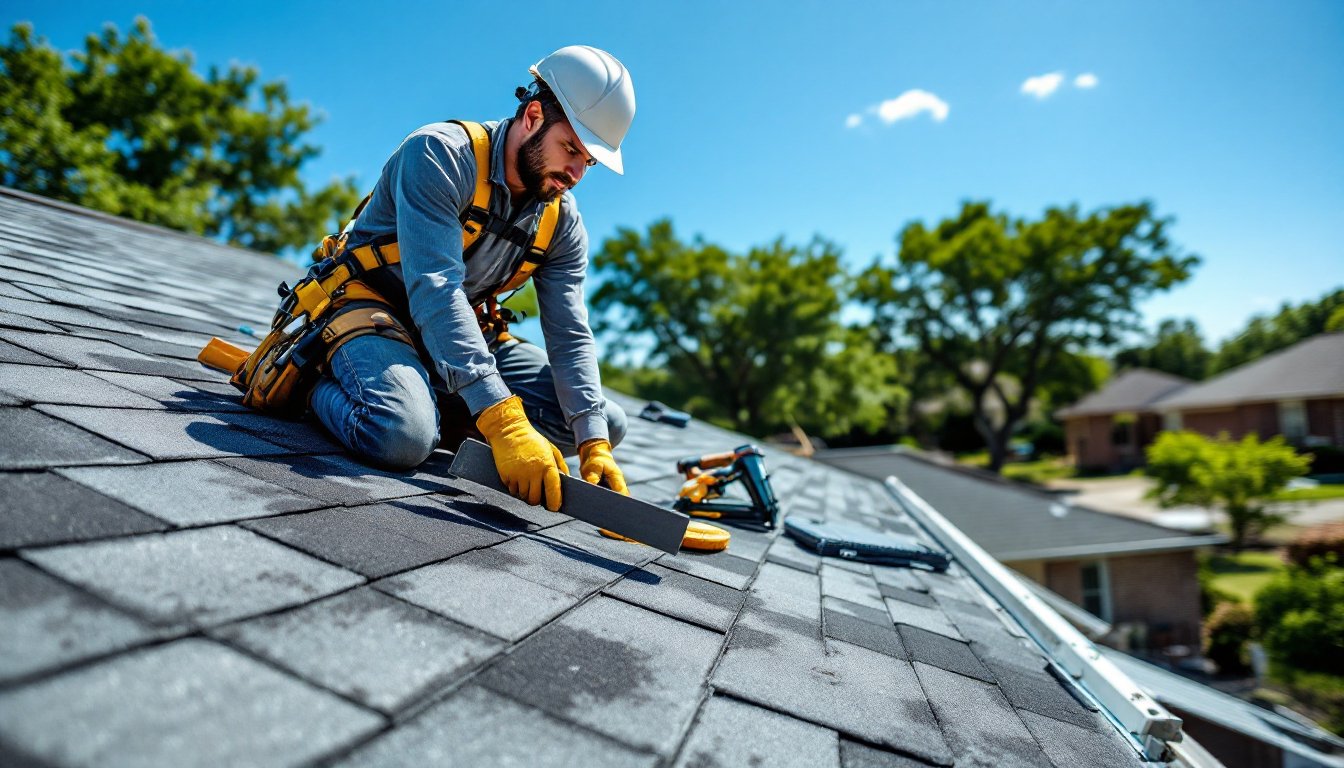
Safety equipment (non-negotiable):
- Fall arrest harness or roof brackets with a safety rope if working on anything steeper than 6:12 pitch
- Non-slip work boots with rubber soles
- Safety glasses (flying nails and shingle debris)
- Work gloves with grip palms
Tools:
- Flat pry bar for lifting shingle tabs without tearing them
- Hammer or pneumatic roofing nailer (manual works fine for small jobs: a nailer speeds up larger repairs)
- Utility knife with hooked blades for cutting shingles
- Caulk gun for roofing cement
- Wire brush for cleaning old sealant or debris
- Tape measure
- Chalk line (if replacing multiple courses)
Materials:
- Replacement three-tab or architectural shingles that match your existing roof (take a sample to the lumberyard for color matching)
- Roofing nails (1¼” for standard shingles, galvanized or stainless to resist rust)
- Roofing cement or lap sealant (get a tube that fits a caulk gun, not the trowel-grade bucket unless you’re doing flashing work)
- Drip edge or step flashing if replacing edge or valley shingles
Buy shingles from the same manufacturer if possible, color dye lots vary, and a mismatched patch will stand out. Most big-box stores carry GAF, Owens Corning, and CertainTeed. If your roof is older and the product line is discontinued, a roofing supplier may have overstock or can recommend a close match.
Don’t skimp on roofing nails. Regular framing nails rust out in a few years. Galvanized roofing nails have a wide head that resists pull-through and won’t corrode.
Step-by-Step Guide to Common Roof Repairs
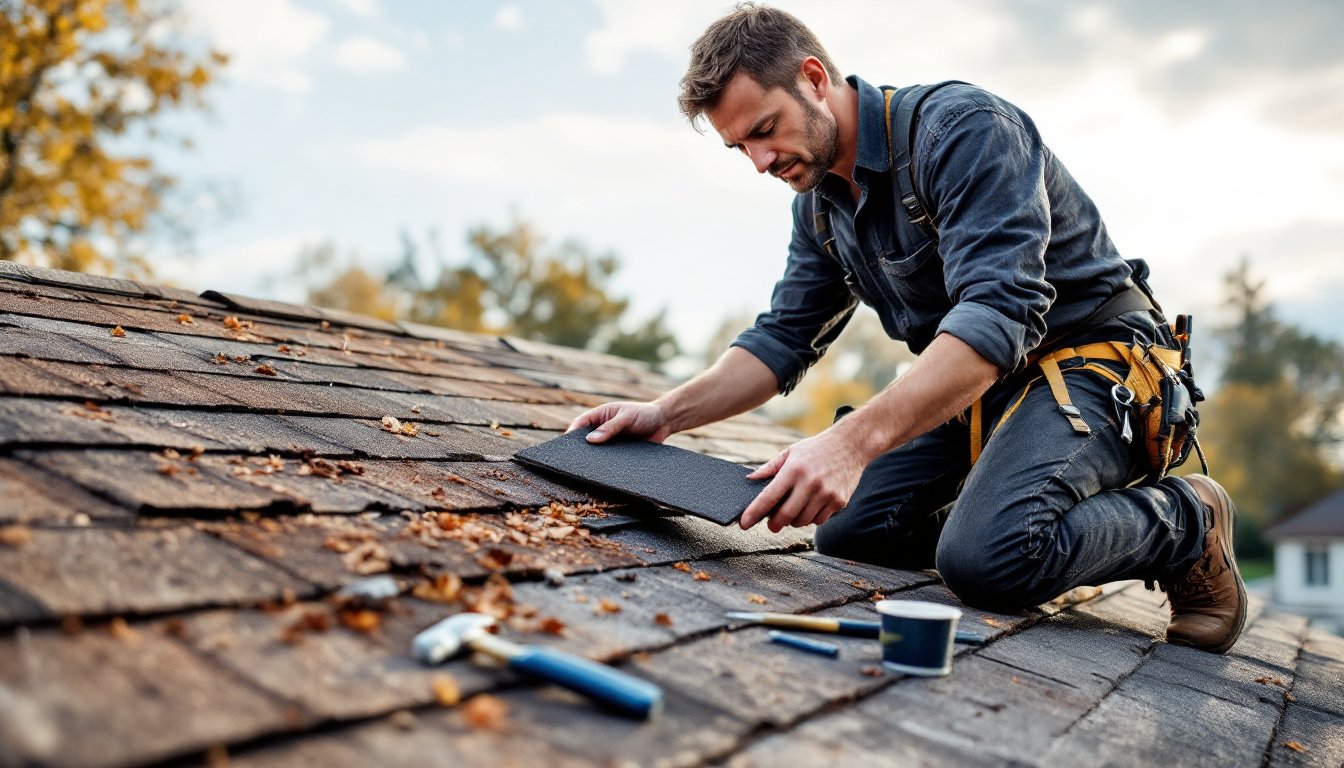
Fixing Damaged or Missing Shingles
Replacing individual shingles is one of the most common DIY roof repairs. It’s manageable for most homeowners if the roof pitch is moderate and you’ve got solid ladder skills.
1. Assess the damage. Walk the roof (if safe) or use binoculars from the ground. Look for missing shingles, lifted tabs, or dark spots where granules are gone. Mark damaged areas with chalk or take photos for reference.
2. Choose the right weather. Work on a warm day (above 50°F). Cold shingles are brittle and crack easily. Avoid windy conditions, loose shingles can catch the wind and throw you off balance.
3. Remove damaged shingles. Lift the tabs of the shingle row above the damaged piece using a flat pry bar. You’ll see the roofing nails holding the damaged shingle. Slide the pry bar under the nail head and pry up gently. You may need to lift two rows of shingles to access all the nails. Once the nails are out, slide the damaged shingle free.
4. Prep the area. Brush away any loose granules or debris. Check the underlayment (the black tar paper or synthetic sheet beneath the shingles). If it’s torn or punctured, patch it with roofing cement before proceeding.
5. Slide in the new shingle. Align the new shingle with the surrounding pieces. The bottom edge should sit flush with the shingle course below, and the tabs should match the spacing of adjacent shingles. Slide it up under the row above until it’s fully seated.
6. Nail it down. Drive four roofing nails, one at each corner, about 1″ from the edge and 5½” up from the bottom (just above the tab cutouts for three-tab shingles). Don’t overdrive the nails: the head should sit flush with the shingle surface, not sink into it.
7. Seal the tabs. Lift the shingle tabs above and apply a dab of roofing cement under each tab where it overlaps the new shingle. Press down firmly. This prevents wind from getting under the tabs. You can also add a small dab over each nail head for extra waterproofing.
8. Inspect adjacent shingles. While you’re up there, check the surrounding shingles for loose nails or lifted tabs. Re-seal any that look questionable. Preventative work now saves another trip up the ladder later.
If you’re replacing multiple shingles in a row, work from the bottom course up. That way, each new shingle overlaps the one below, maintaining the roof’s water-shedding design. Keep an eye on the roof repair and maintenance fundamentals, proper overlap and nail placement are what keep water out.
Preventative Maintenance Tips for Allen’s Climate
Regular maintenance extends roof life and catches small problems before they become expensive. Allen’s weather demands a proactive approach.
Inspect twice a year. Schedule a walk-around in spring (after hail season) and fall (before winter). Use binoculars if you’re not comfortable on the roof. Look for missing or damaged shingles, lifted flashing, clogged gutters, and signs of algae or moss.
Clean gutters and downspouts. Clogged gutters back water up under shingle edges, causing rot and leaks. Clean them in spring and fall, or more often if you have overhanging trees. Ensure downspouts direct water at least 6 feet away from the foundation.
Trim overhanging branches. Tree limbs that scrape the roof during wind can abrade shingles and knock off granules. They also drop leaves and debris that trap moisture. Trim branches back at least 6 feet from the roof edge.
Check attic ventilation. Proper ventilation prevents heat buildup in summer (which cooks shingles from below) and condensation in winter (which rots decking). Allen homes should have a balanced system of soffit vents (intake) and ridge or gable vents (exhaust). You’re aiming for 1 square foot of ventilation per 150 square feet of attic space.
Re-seal flashing every 5 years. Flashing sealant degrades under UV exposure. Inspect the caulk around chimneys, vents, and skylights annually. If it’s cracked or pulling away, scrape out the old sealant with a putty knife, clean the surface with a wire brush, and apply fresh roof sealant (polyurethane or silicone-based products hold up better than asphalt cement).
Address algae growth. Black streaks on north-facing slopes are usually algae, not dirt. While mostly cosmetic, algae can shorten shingle life by trapping moisture. You can clean it with a 50/50 mix of water and bleach applied with a pump sprayer (never use a pressure washer, it damages shingles). Rinse thoroughly. Some manufacturers offer algae-resistant shingles with copper granules for future replacements.
Document hail events. If Allen gets hit by a storm, take photos of your roof and gutters within a few days. Many angi.com contractors offer free post-storm inspections. Even if damage isn’t immediately visible, hail can fracture shingles in ways that show up months later. Having a dated record helps with insurance claims.
Schedule professional inspections. Even if you do your own checks, have a licensed roofer inspect every 3–5 years. They’ll catch issues you might miss, like worn decking or failing underlayment. Many improvenet.com platforms connect homeowners with vetted roofers who provide detailed reports and cost estimates.
Conclusion
A well-maintained roof can last 20–30 years in Allen’s climate, but only if you stay on top of repairs and inspections. Small fixes, replacing a few shingles, re-sealing flashing, are within reach for most DIYers with the right tools and a respect for safety. Larger jobs, steep pitches, and structural issues belong in the hands of professionals. Either way, addressing problems early saves money and keeps your home dry through whatever North Texas weather throws at it.