Hearing weird whistling sounds from your vents? Noticing some rooms stay stuffy while others freeze? Your home’s HVAC ductwork might be compromised, and ignoring it costs money every month in wasted energy. Damaged or leaking ducts can reduce system efficiency by up to 30%, driving up utility bills and forcing your furnace or AC to work overtime. Whether a joint’s come loose, insulation’s torn, or pests chewed through a run, getting ductwork fixed quickly restores comfort and saves cash. This guide walks homeowners through spotting duct damage, finding trustworthy local HVAC contractors, understanding what repairs should cost, and knowing when a DIY patch will do versus when it’s time to call in the pros.
Table of Contents
ToggleKey Takeaways
- Damaged HVAC ducts can reduce system efficiency by up to 30%, significantly increasing energy costs and forcing your system to work harder.
- Common signs your HVAC duct repair is needed include uneven heating/cooling, higher energy bills, visible dust around registers, strange noises, and musty odors from leaking ducts.
- Verify that local HVAC contractors are licensed, insured, and willing to pull required permits—unpermitted work can create serious issues when selling your home.
- Minor duct repairs like sealing and insulation wrapping cost $200–$500, while full system replacement runs $2,500–$6,000+, so get three written estimates to compare scope and pricing.
- DIY-friendly repairs include sealing accessible visible leaks with mastic sealant and reattaching loose flex duct, but professional help is essential for main trunk replacement, asbestos-wrapped ducts, or return-duct leaks.
- Ask potential contractors about their diagnostic approach, warranty coverage, and references from recent local jobs to ensure you’re hiring a reputable professional for your HVAC duct repair.
Signs Your HVAC Ducts Need Repair
Ductwork problems don’t always announce themselves with a bang, often they start as subtle inefficiencies that snowball into bigger headaches. Here’s what to watch for:
Uneven heating or cooling. If one bedroom’s an icebox while the living room stays warm, disconnected or crushed ducts might be blocking airflow to specific zones.
Higher-than-normal energy bills. A sudden spike without usage changes often points to leaks. Conditioned air escaping into attics, crawl spaces, or wall cavities means your system runs longer to hit the thermostat setpoint.
Visible dust buildup around registers. Gaps or tears pull in attic insulation, drywall dust, or rodent droppings. You’ll see grime ringing supply vents or notice more dust settling on furniture.
Whistling, rattling, or banging noises. Loose joints whistle under pressure: detached sections bang against framing when the blower kicks on. Flex duct that’s kinked or compressed can rattle.
Musty or stale odors. Leaks in return ducts can pull air from moldy crawl spaces or stagnant attic zones, spreading odors throughout the house.
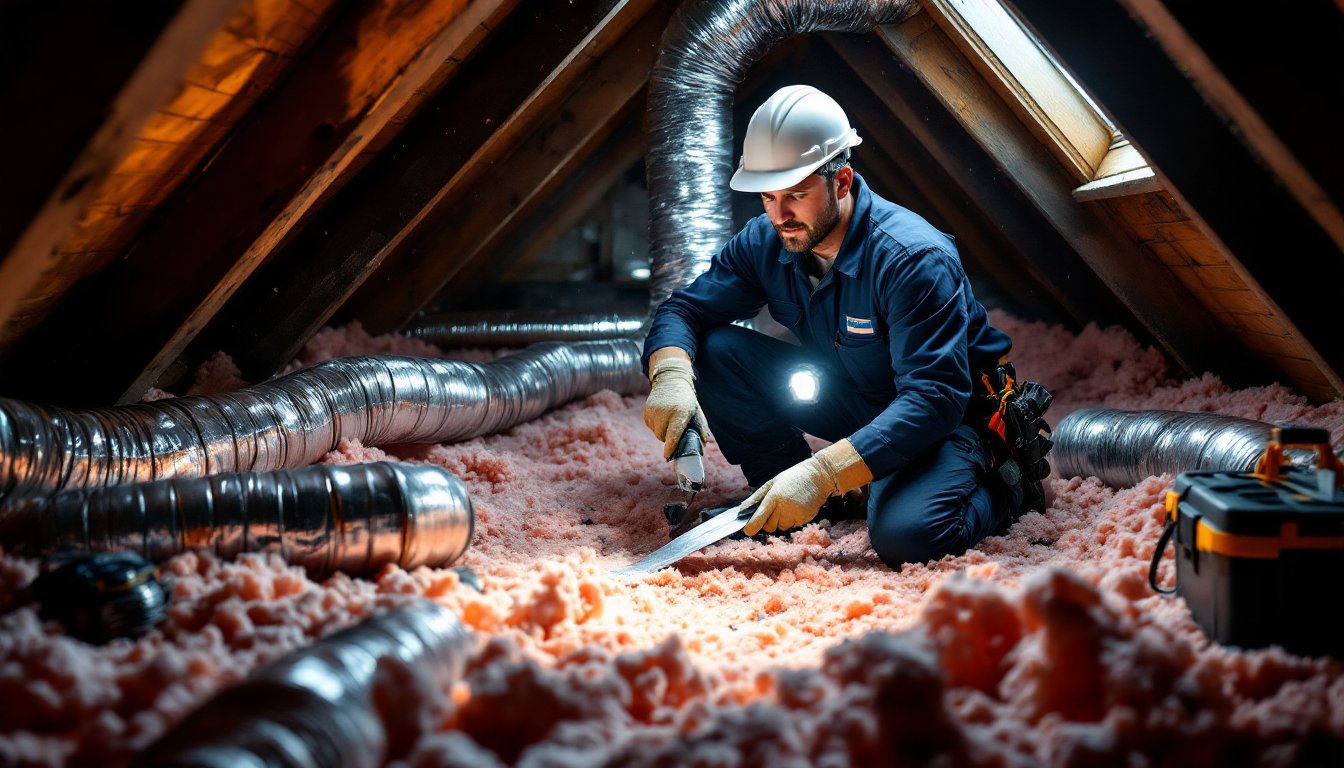
Visible damage during inspections. Torn vapor barriers, crushed flexible duct, rust holes in sheet metal, or sections hanging loose from strapping all demand immediate attention. If you can access your attic or basement, a quick visual check with a flashlight often reveals obvious issues.
How to Find Reliable HVAC Duct Repair Services in Your Area
Typing “hvac ductwork repair near me” into a search engine returns dozens of names, but not all contractors deliver quality work at fair prices. Here’s how to narrow the field:
Start with licensed, insured professionals. Every state regulates HVAC work differently, but most require contractors to hold an HVAC or mechanical license. Verify credentials through your state’s licensing board website. Liability insurance and workers’ comp protect you if someone’s injured on your property.
Check online reviews and ratings. Look beyond star averages. Read recent reviews on multiple platforms (Google, Yelp, Angi) for patterns, do customers mention punctuality, cleanup, transparent pricing? A contractor with 50 four-star reviews often beats one with five five-star reviews from last year.
Ask for local references. Established contractors should provide contact info for recent jobs in your ZIP code. A quick call to a past customer reveals whether the crew showed up on time, stayed on budget, and left the site clean.
Get three written estimates. Invite contractors to inspect your ductwork in person. Quotes over the phone without seeing the system are red flags. Compare scope of work, materials specified (gauge of sheet metal, R-value of insulation), labor rates, and timeline.
Verify permit requirements. Major duct replacement or rerouting typically needs a building permit and inspections. If a contractor says “we don’t bother with permits,” walk away, you’ll be on the hook for code violations when you sell the house.
What to Look for in a Local HVAC Contractor
Beyond licenses and insurance, a few traits separate pros from hacks:
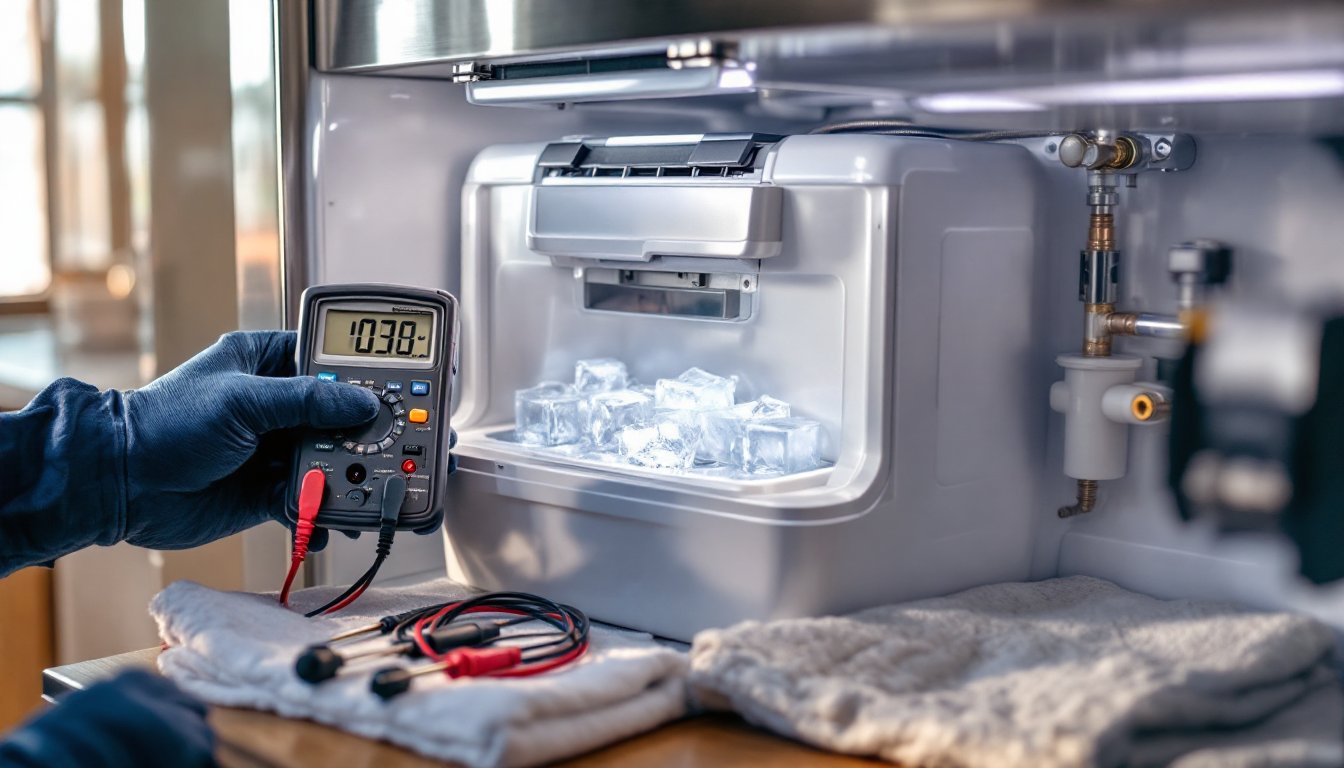
Diagnostic approach. Quality contractors perform a visual inspection, check static pressure at the blower, and sometimes run a duct-leakage test (blower-door test with duct pressurization). Anyone quoting repairs without measuring airflow is guessing.
Itemized proposals. The estimate should break out labor, materials, permits, and disposal fees. Vague “duct repair – $800” quotes hide markups and make comparisons impossible.
Warranty coverage. Reputable firms warranty both labor (typically one to two years) and materials (often backed by the manufacturer for five to ten years). Get it in writing.
Equipment and crew size. Duct repair in tight crawl spaces or attics requires proper tools, sheet metal brakes, mastic sealant, insulation knives. A lone technician with a roll of duct tape isn’t equipped for code-compliant work.
Communication and scheduling. Pros return calls within 24 hours, show up on time, and explain what they’re doing. If a contractor ghosts you during the estimate phase, imagine the frustration mid-project.
Understanding HVAC Duct Repair Costs and Pricing
Duct repair pricing swings widely based on damage extent, accessibility, and regional labor rates. Here’s a breakdown:
Minor sealing and insulation wrap: $200–$500. Sealing a few visible leaks with mastic sealant (not cloth duct tape, which degrades) and wrapping exposed runs with R-6 or R-8 foil-faced insulation is straightforward. This covers maybe 20–40 linear feet in an accessible basement or garage.
Replacing damaged flexible duct sections: $300–$1,000 per run. If a rodent chewed through a flex-duct branch or insulation’s fallen off, a tech cuts out the bad section and installs new insulated flex duct (typically 6-inch or 8-inch diameter). Cost climbs if the run’s in a tight attic with blown insulation to move.
Sheet-metal trunk repair or patching: $400–$1,200. Rust holes or separated seams in main trunks require cutting sheet metal patches, pop-riveting or screwing them in place, then sealing joints with mastic. Labor’s higher because working overhead with metal shears and a rivet gun is slow.
Full duct replacement: $2,500–$6,000+ for an average single-story home. If the entire system’s shot, collapsed flex, rusted-out metal, asbestos-wrapped ducts in older homes, expect a multi-day job. Price includes new trunk lines, branches, registers, insulation, and duct sealing. Multi-story or complex layouts push costs higher.
Duct sealing (Aeroseal or manual): $1,000–$2,500. Professional duct sealing services using products like Aeroseal inject aerosolized sealant into pressurized ducts to plug leaks from the inside, effective but pricey. Manual sealing with mastic and foil tape costs less but requires accessing every joint.
Regional and access factors. Urban areas with high labor costs (California, Northeast) run 20–40% above national averages. Crawl spaces under 24 inches tall, attics with roof pitches below 4/12, or ductwork buried in walls require extra labor hours.
Permits and inspections. Where required, add $50–$200 for permit fees. Some jurisdictions mandate post-repair duct-leakage testing, adding another $150–$300.
Always ask if the quote includes disposal of old materials, patching drywall or insulation disturbed during access, and return trips if issues arise post-repair.
DIY HVAC Duct Repair: When You Can Handle It Yourself
Some duct repairs are weekend-warrior friendly: others risk making problems worse or violating code. Here’s where DIYers can step in:
Safe for DIY:
• Sealing visible leaks on accessible ducts. If you can reach the joint without crawling through insulation or balancing on joists, cleaning the surface and applying mastic sealant (a thick paste that dries flexible) works well. Follow with foil-faced UL-181 tape over the mastic for reinforcement. Avoid cloth duct tape, it peels off within months. Expect to spend $15–$30 on a quart of mastic and a roll of foil tape.
• Reattaching loose flex duct. If a section’s slipped off a collar or boot, slide it back on, secure with a stainless-steel worm-drive clamp or zip ties rated for HVAC (not hardware-store nylon ties that crack in heat), then wrap the connection with mastic and foil tape. Takes 20 minutes per joint.
• Replacing a short flex-duct run (under 10 feet). Measure the diameter (common sizes: 6-inch, 8-inch, 10-inch), buy insulated flex duct at a home center ($1.50–$3 per linear foot), cut to length with a utility knife, and connect ends to collars with clamps and mastic. Ensure you don’t compress or kink the duct, stretching it taut reduces airflow.
• Adding insulation to exposed metal ducts. Wrap accessible trunk lines in basements or garages with foil-faced duct wrap insulation (R-6 minimum). Secure with foil tape or plastic ties every 18 inches. Cost: about $0.60–$1.20 per square foot.
Safety and tool notes: Wear safety glasses (sharp sheet-metal edges), work gloves, and a dust mask or N95 respirator in attics (fiberglass and rodent droppings are health hazards). A cordless drill with nut drivers, utility knife, wire brush for cleaning joints, and a flashlight or headlamp cover most tasks. Homeowners looking for step-by-step repair walkthroughs can find detailed guides on Family Handyman.
Call a pro for:
• Ductwork in inaccessible zones (inside walls, under concrete slabs, above finished ceilings).
• Main trunk replacement or rerouting, structural framing, load-bearing considerations, and code compliance are beyond typical DIY scope.
• Asbestos-wrapped ducts in pre-1980 homes. Disturbing asbestos requires licensed abatement: fines and health risks aren’t worth the savings.
• Duct sizing or system rebalancing. Incorrectly sized ducts cause pressure imbalances, frozen coils, or compressor failure. Manual-D load calculations should guide any redesign.
• Return-duct leaks pulling combustion gases from furnaces or water heaters, a carbon-monoxide hazard requiring immediate professional attention.
Common HVAC Duct Problems and Professional Solutions
Understanding what contractors fix, and how, helps homeowners evaluate proposals and avoid upsells:
Disconnected or collapsed ducts. Flex duct settles over time: strapping breaks, and sections sag onto joists or rafters, blocking airflow. Pros reposition runs, install proper support straps every 4 feet per IRC M1601.4.4, and re-secure connections. If ducts are crushed beyond repair, they replace the section with new flex or rigid duct.
Leaky joints and seams. Sheet-metal trunks joined with S-slips and drive cleats often leak at seams. Techs disassemble joints, apply mastic to both surfaces, reassemble with sheet-metal screws (three per side minimum), then seal exterior seams. Some upgrade to snap-lock or Pittsburgh seams for better integrity.
Inadequate or damaged insulation. Code requires ducts in unconditioned spaces (attics, crawl spaces, garages) to have minimum R-6 or R-8 insulation depending on climate zone (IRC M1601.3). Pros strip torn or wet insulation, dry the duct, then wrap with new foil-faced batt or duct wrap, sealing seams with foil tape.
Undersized or oversized ducts. A previous installer may have guessed duct sizes instead of running Manual-D calculations. Undersized ducts cause high velocity and noise: oversized ducts reduce velocity, allowing dust to settle and reducing system efficiency. Fixing this requires replacing trunk or branch runs with correct diameters, expensive but necessary for long-term comfort.
Pests and contamination. Rodents nesting in ducts leave droppings, urine, and chewed insulation. After sealing entry points (a pest-control issue), HVAC pros remove contaminated sections, sanitize remaining ducts with antimicrobial foggers, and install new runs. Some offer duct cleaning (expect $300–$500), though EPA guidance notes cleaning’s only beneficial if ducts are visibly contaminated.
Return-duct leaks. These pull in unconditioned air, dust, and sometimes combustion gases from furnace rooms. Techs seal return plenums and boot connections with mastic, ensuring no gaps. In homes with atmospheric-vented furnaces or water heaters, they’ll verify proper draft and combustion-air supply to prevent backdrafting.
Questions to Ask Before Hiring a Local Duct Repair Specialist
Nail down details before signing a contract. Here are key questions:
“Are you licensed and insured for HVAC work in this state?” Ask for license and policy numbers: verify them independently. Unlicensed work voids permits and complicates insurance claims if something goes wrong.
“Will you pull permits if required?” If the answer’s no or evasive, that’s a deal-breaker. Unpermitted work can surface during home sales, forcing costly re-dos.
“What diagnostic tests will you perform?” Expect mention of visual inspection, static-pressure readings, and possibly a duct-leakage test. Contractors who skip diagnostics often miss root causes.
“What materials will you use, and do they meet code?” Confirm mastic (not cloth tape), UL-181-rated foil tape, and insulation meeting local R-value minimums. Ask about sheet-metal gauge for rigid duct (26-gauge or heavier for trunks).
“How long will the repair take, and how many crew members?” A realistic timeline prevents surprises. Large jobs might span two to three days: minor repairs often finish in half a day.
“What’s included in the warranty?” Get specifics: labor warranty duration, materials coverage, and whether callbacks for leaks or noise are free within a set period.
“Can you provide references from jobs in my area?” Three recent references let you gauge quality and customer service. Don’t skip this step, it’s the best predictor of your experience.
“Will you need to access finished spaces, and who handles patching?” If techs must cut drywall to reach ducts, clarify whether patching, mudding, and paint touch-up are in the scope or your responsibility.
“What’s your policy if you find additional problems during the repair?” Reputable contractors pause, document new issues with photos, provide a change-order estimate, and get approval before proceeding. Anyone who inflates scope without discussion is running a bait-and-switch.
Taking time to vet contractors upfront saves headaches and often money. Platforms like HomeAdvisor can help homeowners compare multiple local pros, read verified reviews, and request quotes, but always do your own due diligence on licenses and references before committing.