Finding a ceiling stain or hearing that dreaded drip, drip, drip during a rainstorm means one thing: there’s a leak somewhere in the roof. The good news? Many asphalt shingle roof leaks are fixable with basic tools and a little courage to climb a ladder. Asphalt shingles are the most common residential roofing material in the U.S., covering roughly 80% of homes, which means repair techniques are well-established and materials are easy to source. This guide walks through identifying leak sources, gathering the right gear, executing repairs on damaged shingles and flashing, and knowing when it’s time to hand the job to a pro. Whether it’s a single cracked shingle or a compromised boot seal around a vent pipe, tackling shingle roof leak repair early prevents minor issues from turning into plywood replacement nightmares.
Table of Contents
ToggleKey Takeaways
- Most asphalt shingle roof leak repair jobs involve replacing damaged shingles, sealing flashing, or replacing vent boots—all achievable DIY tasks with basic tools and materials.
- Identifying the leak source requires checking the attic on a rainy day to trace water stains upslope, since water travels along roof framing rather than straight down.
- Asphalt shingle roof leaks can be prevented early by addressing cracked or missing shingles, exposed nails, and worn vent boots before minor damage becomes costly structural problems.
- Temporary emergency fixes like tarps or roofing cement patches buy time but aren’t permanent; permanent asphalt shingle roof leak repair should be done on a dry, calm day.
- Professional help is necessary for steep roofs (over 6:12 pitch), widespread damage, flashing replacement, visible rot, or roofs over 20 years old.
- Early intervention catches leaks when costs are low ($150–$1,500 range), while delays can lead to plywood replacement and interior damage requiring much larger investments.
How to Identify the Source of Your Asphalt Shingle Roof Leak
Water rarely travels straight down. A leak in the living room ceiling might originate several feet upslope on the roof, following rafters or sheathing seams before dripping through. Start inside the attic on a rainy day or right after a storm. Use a flashlight to trace wet spots on the underside of the roof decking back toward the roof peak, water flows downhill, so the entry point is always higher than the stain.
Once the general area is identified, head outside (only when the roof is dry, wet shingles are dangerously slippery). Look for obvious culprits within a few feet upslope of the interior leak:
- Missing, cracked, or curled shingles: Wind, hail, or age can break the waterproof seal.
- Exposed or popped roofing nails: Nail heads that work their way up create tiny punctures.
- Damaged flashing: Metal strips around chimneys, skylights, or where roof planes meet often fail before shingles do.
- Worn vent pipe boots: Rubber or plastic collars around plumbing vents crack with UV exposure.
- Granule loss: Bare spots on shingles where the protective mineral coating has worn off signal the end of a shingle’s life.
If the leak only appears during wind-driven rain, suspect gaps in flashing or sidewall step flashing. If it’s consistent every storm, the shingle layer itself is likely compromised. Mark problem areas with chalk or take photos for reference during repair.
Essential Tools and Materials for Shingle Leak Repair
Gather everything before climbing onto the roof, multiple trips up and down a ladder waste time and test patience.
Tools:
- Ladder tall enough to extend 3 feet above the roof edge (for safe mounting)
- Flat pry bar or shingle removal tool
- Utility knife with hooked roofing blade
- Caulk gun
- Hammer or roofing nailer (manual works fine for small repairs)
- Wire brush (for cleaning flashing)
- Chalk line (if replacing multiple shingles in a row)
Materials:
- Replacement asphalt shingles (match color and style: buy a full bundle if the roof is more than a few years old, as UV fading makes new shingles stand out)
- Roofing cement or mastic (in tubes for caulk guns or larger cans for trowel application)
- Roofing nails (1¼-inch galvanized or aluminum: never use smooth-shank nails)
- Flashing repair tape or aluminum flashing sheets (for metal repairs)
- Replacement vent pipe boot (if the old one is cracked beyond sealing)
PPE:
- Slip-resistant shoes or roofing boots
- Work gloves (roofing materials have sharp edges)
- Safety glasses (especially when prying up old shingles)
- Fall protection harness if the roof pitch exceeds 6:12 or if uncomfortable with heights
Most hardware stores stock all of these. If buying shingles, bring a sample piece or a clear photo of the existing roof, architectural shingles have varying shadow lines and thicknesses that need to match for a clean repair.
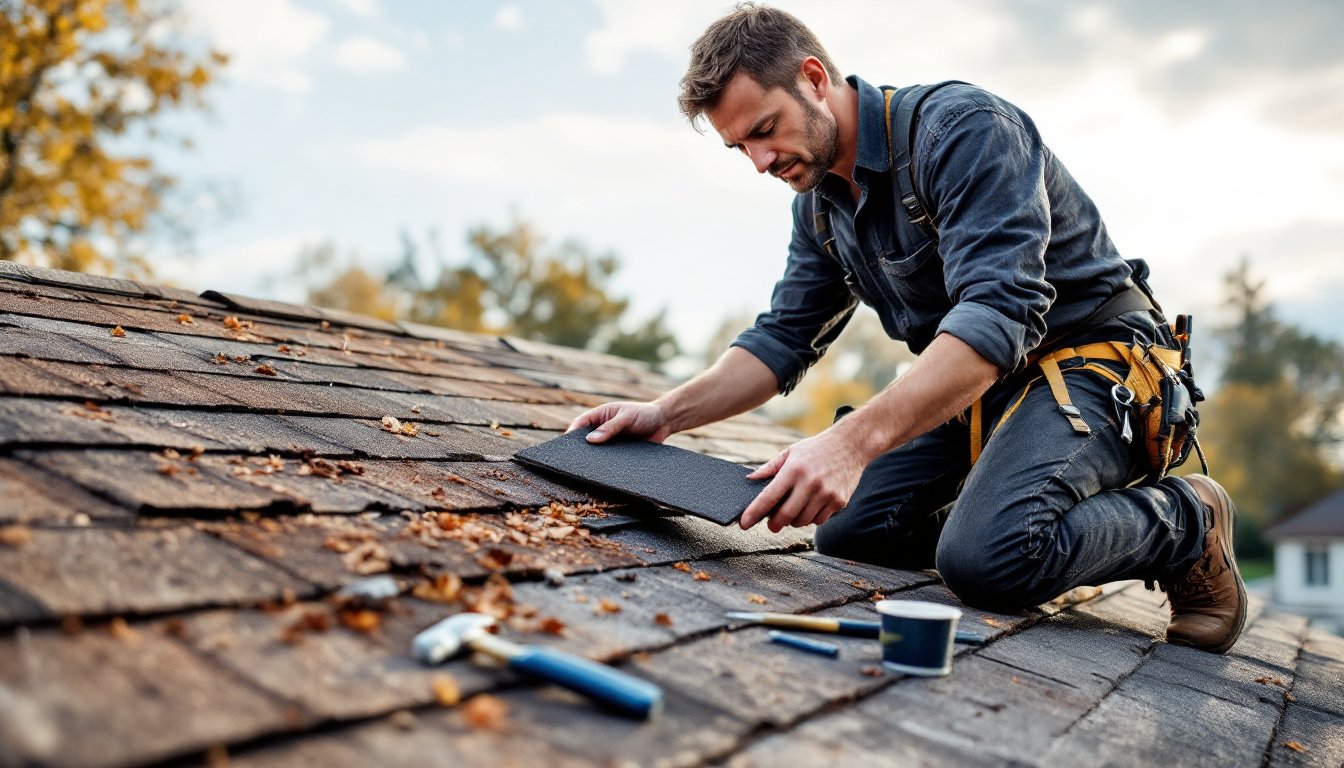
Repairing Damaged or Missing Asphalt Shingles
Replacing a damaged shingle is straightforward once the old one is removed without tearing surrounding shingles.
Removing the Damaged Shingle
- Lift the shingle above the damaged one gently. Asphalt shingles are sealed with heat-activated adhesive strips, so on cool days they lift easily: on hot days, work slowly to avoid tearing.
- Remove nails holding the damaged shingle using a flat pry bar. Each shingle is typically held by four nails near the top edge, plus the nails from the shingle course above penetrate it. Slide the pry bar under the shingle above to access those nails.
- Slide out the damaged shingle once all nails are pulled or loosened.
Installing the New Shingle
- Slide the replacement shingle into position, aligning it with adjacent shingles so the tabs match and the exposure (the visible portion) is consistent, usually 5 inches for standard three-tab shingles or varies for architectural styles.
- Nail the new shingle in place using four roofing nails, positioned about 1 inch in from each edge and 1 inch above the tab slots. Drive nails flush but not so hard that they tear the shingle.
- Lift the shingle above and apply a quarter-sized dollop of roofing cement under it where it overlaps the new shingle. Press down to seal. This bonds the layers and prevents wind uplift.
- Seal the exposed nail heads if any are visible (from removing the damaged shingle) with a dab of roofing cement.
For cracked but not missing shingles, slide roofing cement under both sides of the crack, press flat, then nail down each side if the crack is wide. Cover nail heads with more cement. The repair won’t be invisible, but it stops water entry.
Shingle roof leak repair often involves replacing just a few individual pieces, but if clusters of shingles are damaged, the underlying felt paper or ice-and-water shield might also be compromised, inspect the decking underneath during removal.
Sealing Flashing and Vent Pipe Leaks
Flashing failures cause more leaks than damaged shingles. Metal flashing around chimneys, dormers, and valleys is designed to channel water away, but caulk joints and seams deteriorate over time.
Chimney and Step Flashing
- Clean the joint where flashing meets brick or siding using a wire brush. Remove old, cracked caulk or roofing cement.
- Apply a continuous bead of roofing cement or polyurethane caulk along the seam. If the metal is bent or pulled away, gently bend it back into position before sealing.
- Check step flashing (the L-shaped pieces woven into shingle courses along a sidewall). If a piece is missing or bent, carefully lift the shingles above, slide in a new section, nail it to the roof deck (not the wall), and reseal.
If flashing is rusted through or has large gaps, replacement is necessary, often a job for a roofer unless comfortable working with sheet metal and understanding proper overlap sequences.
Vent Pipe Boots
The rubber or plastic collar (boot) around plumbing vent pipes cracks from UV exposure, usually within 10–15 years. Even small cracks let in significant water since pipes channel runoff directly into the home.
- Remove shingles overlapping the top and sides of the boot (usually 2–3 shingles).
- Pry out the nails holding the old boot flange to the roof deck and slide it up and off the pipe.
- Slide the new boot down over the pipe. The flange should sit flat on the roof deck under the shingles.
- Nail the flange in place with roofing nails around the perimeter (not through the rubber part).
- Reinstall the shingles over the boot, sealing edges with roofing cement.
Some roofers suggest using all-metal vent boots for longer service life, though they cost more upfront. Techniques for proper flashing installation are also detailed in many professional home repair guides that cover both DIY and contractor methods.
Emergency Temporary Fixes for Active Roof Leaks
When it’s pouring and water is coming in, a temporary patch buys time until proper repairs can be made, ideally on a dry, calm day.
From Inside (Attic Access):
If the leak source is visible from the attic, push a nail or wire up through the hole from below so it pokes through the roof. This marks the spot for outdoor repair. Place a bucket under the leak and drape a string from the wet spot into the bucket to guide dripping water and prevent it from spreading across the ceiling.
From Outside (If Safe):
Only attempt this if the roof isn’t too steep or slippery. Wear slip-resistant shoes and have someone spot the ladder.
- Tarp Method: Spread a heavy-duty tarp over the damaged area, extending it at least 4 feet beyond the leak on all sides. Weigh down edges with 2x4s or sandbags, never nail through a tarp into the roof, as this creates more holes. Tuck the top edge under a shingle course if possible.
- Roofing Cement Patch: For small punctures or cracks, spread a thick layer of roofing cement over and around the damage, extending several inches beyond. Press a piece of aluminum flashing or even heavy plastic sheeting into the cement for reinforcement, then cover with another layer of cement.
Temporary fixes are just that, they won’t hold up for more than a few weeks or through multiple storms. Schedule a permanent repair as soon as weather allows.
When to Call a Professional Roofer vs. DIY
Not every roof repair is a DIY project. Safety, skill, and the scope of damage all factor into the decision.
DIY-Friendly Repairs:
- Replacing a few isolated shingles
- Sealing small flashing gaps or re-caulking joints
- Swapping out a cracked vent pipe boot
- Applying emergency tarps or temporary patches
Call a Professional If:
- The roof pitch is steeper than 6:12 (6 inches of rise per 12 inches of run), these are dangerous without proper fall protection and experience.
- Multiple areas are leaking, suggesting widespread shingle failure or underlayment issues.
- Flashing around chimneys or skylights needs replacement (complex waterproofing sequences).
- Structural damage is visible: sagging, soft spots in decking, or interior ceiling joists showing rot.
- The roof is more than 20 years old, patching might be a temporary band-aid on a system nearing end-of-life.
- Local codes require permits or inspections for roofing work (some jurisdictions do, especially for structural repairs).
Asphalt shingle repairs typically cost between $150 and $1,500 depending on damage extent, access difficulty, and regional labor rates. For small leaks caught early, a DIY fix saves that expense, but don’t risk injury or create bigger problems by tackling work beyond comfort level. If unsure, a roofer can assess the situation for a service call fee and provide an estimate. Maintaining the roof through regular roof repair and maintenance helps catch issues before they require emergency intervention.
Conclusion
Most asphalt shingle roof leaks come down to a few damaged shingles, a worn boot, or a flashing seam that’s given up the fight against weather. With the right materials, a calm day, and attention to detail, homeowners can handle these repairs and add years to a roof’s service life. Safety comes first, if the ladder feels sketchy or the slope looks intimidating, that’s the signal to hire out. But for straightforward fixes, there’s real satisfaction in stopping a leak with your own hands and a tube of roofing cement.