Nothing’s more frustrating than reaching for ice on a hot day only to find your Whirlpool refrigerator ice maker has stopped producing. Whether you’ve got a French door, side-by-side, or Whirlpool Gold model, a non-working ice maker is usually something you can troubleshoot yourself. Most issues, from a flipped switch to a clogged filter, don’t require a repair technician. Before you schedule a service call or start browsing for a replacement ice maker, work through these seven fixes. Chances are, your whirlpool refrigerator will be cranking out ice again within an hour.
Table of Contents
ToggleKey Takeaways
- Check the ice maker’s on/off switch and wire bail arm position first—most Whirlpool refrigerator ice maker issues start with a simple flip or reset that takes just minutes to fix.
- Inspect the water supply line for kinks, frost buildup, or blockages, and test the inlet valve with a multimeter to ensure it’s opening properly and allowing water to reach the ice maker.
- Maintain freezer temperature at 0°F or colder, clean condenser coils every six months, and check door gaskets to prevent warm air from slowing ice production.
- Clear ice jams using a hair dryer on low heat rather than prying them out, and replace your water filter every six months—a clogged filter is one of the most common reasons a Whirlpool refrigerator stops making ice.
- If your freezer won’t hold proper temperature or your ice maker motor doesn’t respond to the test button after checking all accessible components, contact a licensed technician as the issue likely involves sealed refrigerant systems or control board failure.
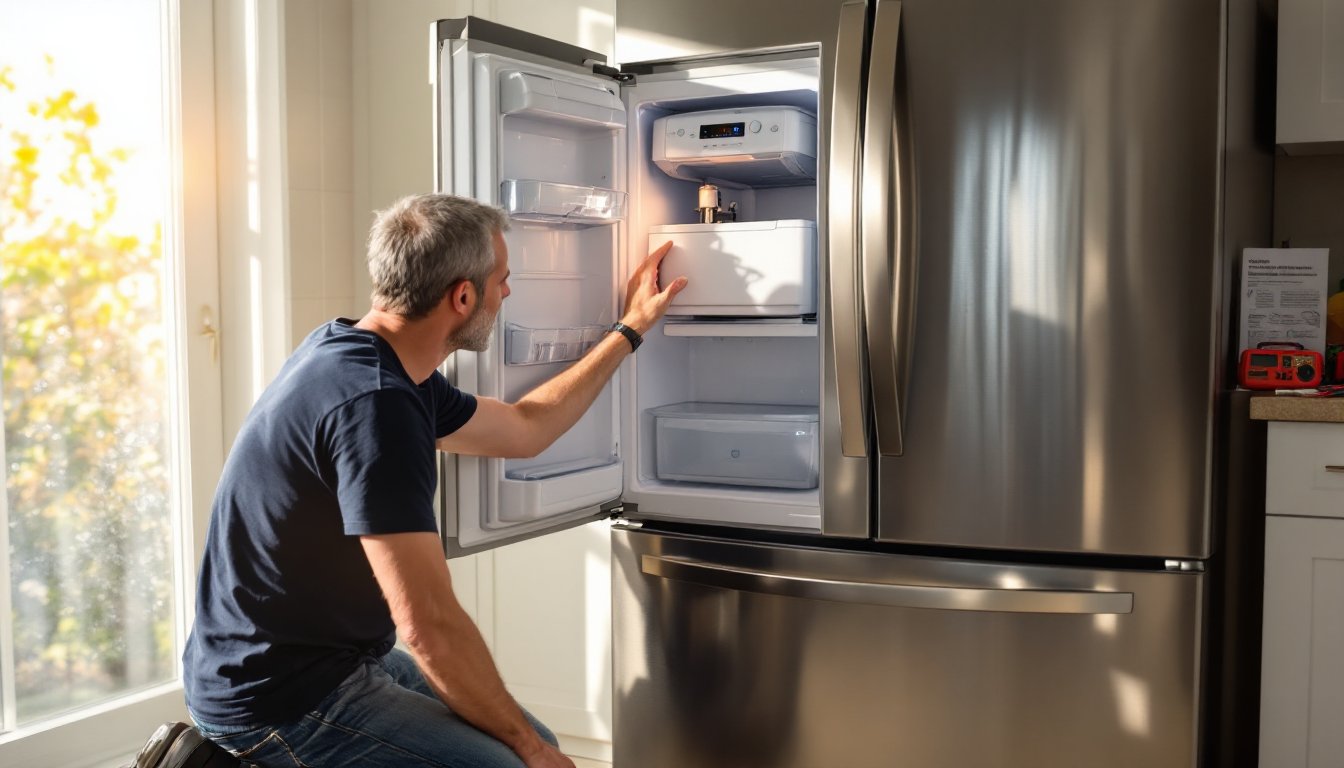
Check the Ice Maker’s On/Off Switch and Arm Position
Start with the simplest explanation: your ice maker might be turned off. On most Whirlpool models, there’s either a wire bail arm or a paddle-style switch that controls operation.
For wire bail arm models, the arm should rest in the down position. If it’s pushed up (usually because ice has stacked too high or someone manually raised it), the ice maker won’t cycle. Lower it gently until it clicks into place. The arm acts as both an on/off switch and an overflow sensor, when ice fills the bin and pushes the arm up, production stops.
For paddle or slide switch models, locate the switch on the ice maker itself or inside the freezer compartment. It may be labeled with an I/O symbol or simply show “on” and “off.” Flip it to the on position and wait 24 hours. Sometimes the switch gets bumped during loading or unloading.
If you’ve recently installed the refrigerator or reset it after a power outage, the ice maker needs time to initialize. Whirlpool refrigerator ice maker instructions typically recommend waiting 6–12 hours for the first batch after initial setup or a reset, but a full 24 hours ensures the freezer reaches optimal temperature and the water line stabilizes.
Inspect the Water Supply Line and Inlet Valve
Ice makers need a steady supply of water. If your whirlpool refrigerator is not making ice but water works at the dispenser, the problem often lies between the inlet valve and the ice maker itself, not the main supply.
Verify Water Supply Line Connection
Pull the fridge away from the wall (unplug it first) and locate the ¼-inch copper or braided stainless steel supply line that connects to the back. Check the shutoff valve, usually a saddle valve on a nearby cold water pipe, and make sure it’s fully open. Turn it counterclockwise until it stops.
Inspect the line for kinks, sharp bends, or frost buildup. Copper lines can crimp if the refrigerator was pushed too close to the wall. Braided lines are more forgiving but can still kink at the compression fittings. Straighten any bends gently. If you see ice coating the line, that indicates a temperature or insulation issue, but first address the mechanical blockage.
Disconnect the line at the refrigerator inlet (have a towel ready) and turn on the supply briefly to verify water flows freely. If it trickles or doesn’t flow at all, the problem is upstream, your shutoff valve may be clogged with sediment or the saddle valve piercing has failed. Saddle valves, common in older installs, are notorious for partial clogs: replacing with a compression tee valve is more reliable.
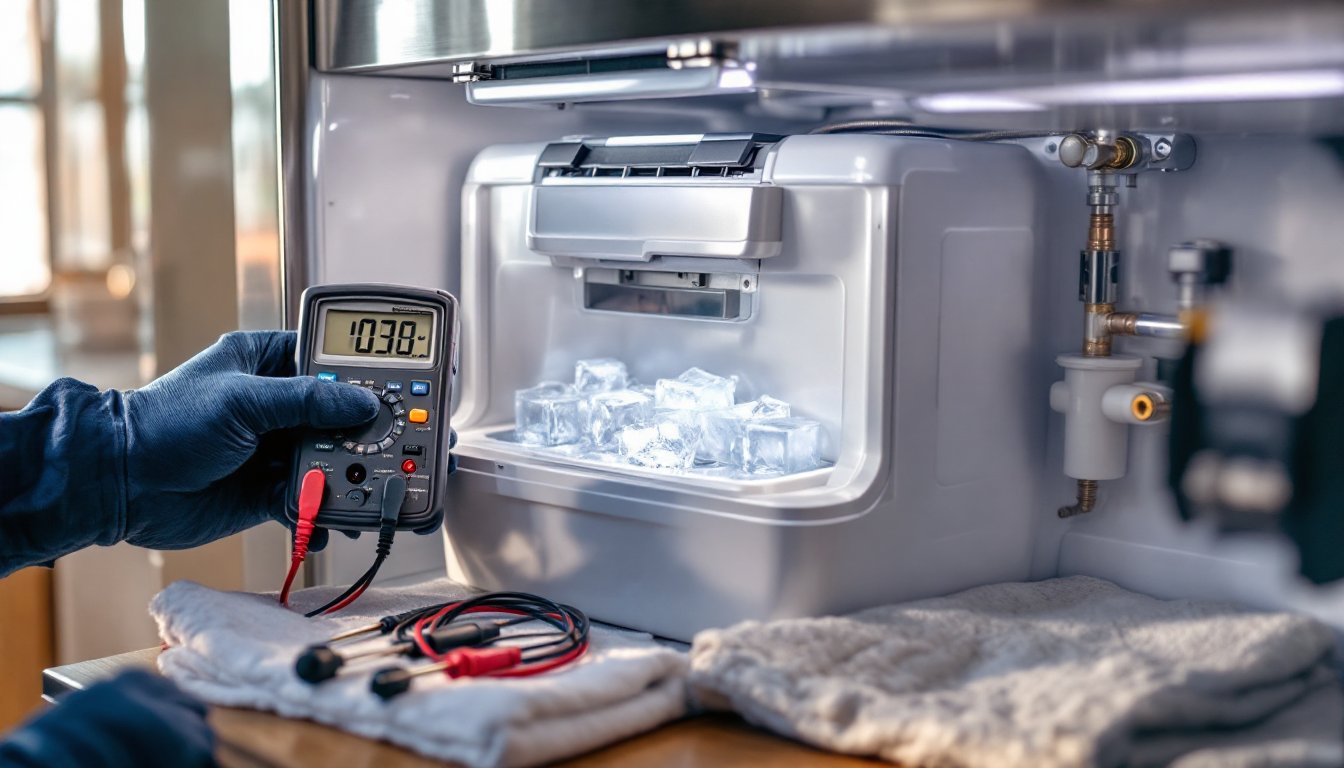
Test the Water Inlet Valve
The water inlet valve is located at the back of the fridge where the supply line connects. It’s an electrically controlled solenoid that opens to let water into the ice maker and dispenser.
To test it, you’ll need a multimeter. Unplug the fridge, remove the lower back panel, and locate the valve. Disconnect the wire harness and test for continuity across the solenoid terminals. Most Whirlpool inlet valves should read between 200–500 ohms. No continuity means the solenoid is dead and the valve needs replacement.
Also check that the valve isn’t clogged with sediment or mineral deposits. Even with good electrical continuity, a valve can stick partially closed. If water pressure at the fridge is below 20 psi, the valve may not open fully. Test household pressure with a gauge at an outdoor spigot: residential water should be 40–60 psi.
Replacement inlet valves for Whirlpool refrigerators run $20–$40 and swap in with basic hand tools, a nut driver and adjustable wrench. Just make sure to match your model number.
Examine the Freezer Temperature Settings
Whirlpool ice makers need the freezer at 0°F (–18°C) or colder to produce ice consistently. If the freezer temperature drifts above that threshold, production slows or stops entirely.
Place a freezer thermometer on the middle shelf, away from the door, and let it sit for at least eight hours (overnight is best). Don’t trust the fridge’s digital display, panel sensors can read inaccurately if they’re covered by frost or damaged.
If the freezer is warmer than 0°F, adjust the temperature control down one increment and recheck after 24 hours. On dial controls, this usually means turning toward “colder” or a higher number. On digital panels, lower the freezer setpoint in 2°F increments.
Watch for issues that warm the freezer unintentionally:
- Overloaded freezer: Packing food tightly blocks airflow from the evaporator fan. Leave space around vents.
- Dirty condenser coils: Coils under or behind the fridge dissipate heat. Dust buildup reduces efficiency, raising internal temperatures. Vacuum them every six months using a coil brush or narrow nozzle attachment.
- Worn door gaskets: A damaged or dirty gasket lets warm air seep in. Test by closing the door on a dollar bill: if it pulls out easily, the seal is weak. Clean gaskets with warm soapy water and check for tears.
- Frequent door openings: Each time the door opens, warm air rushes in and the compressor works harder to recover. Minimize unnecessary openings, especially in summer.
If the freezer won’t hold 0°F even after adjustments, and the compressor runs constantly or barely cycles on, you likely have a refrigerant leak or failed compressor, both require professional service.
Clear Ice Jams and Blockages in the Ice Maker
Sometimes ice cubes freeze together in the mold or ejector mechanism, preventing new cycles from starting. This is especially common after a power outage or when the freezer temperature fluctuates. The ice maker whirlpool refrigerator models use a motorized rake or ejector arm to push cubes into the bin, if that arm is stuck, production halts.
First, empty the ice bin completely and inspect the ice maker itself. Look for clumps of ice fused to the mold or auger. If you see any, don’t try to pry or chip them out with a screwdriver, you’ll crack the plastic.
Instead, unplug the refrigerator and use a hair dryer on low heat to gently melt the jam. Hold it 6–8 inches away and work slowly. Keep a towel underneath to catch meltwater. Once the blockage is free, wipe the mold tray dry and plug the fridge back in.
Inspect the ejector arm or rake for cracks or bent teeth. On Whirlpool side-by-side refrigerator ice maker not working scenarios, broken ejector parts are a common culprit, particularly in units over five years old. Replacement ejector kits are model-specific but widely available online for $15–$30.
If you notice frost buildup inside the ice maker housing or around the fill tube, that indicates an air leak or a defrost issue. Frost can block the fill tube, preventing water from entering the mold. Carefully clear frost with the hair dryer method and monitor for recurrence. Persistent frost usually means a failed defrost thermostat or heater, professional diagnosis is recommended.
After clearing any jam, press the test button on the ice maker (a small rubber or plastic button, often red or white, on the side or front of the unit). This manually advances the ice maker through one cycle. You should hear the motor turn, the rake rotate, and water fill the mold within about 60 seconds. If nothing happens, the motor or control module may be faulty.
Replace the Water Filter
A clogged water filter is one of the most common reasons a whirlpool refrigerator stopped making ice but still dispenses water, or dispenses water slowly. Whirlpool recommends changing filters every six months or when the indicator light turns on, whichever comes first. In homes with hard water or sediment, filters clog faster.
Locate your filter. Depending on the model, it’s usually in the upper-right interior, the base grille, or inside the fresh food compartment. Whirlpool uses push-in, twist-in, and slide-out styles. Check your owner’s manual or the label on the filter itself for the part number (common ones include W10295370A, EDR1RXD1, and 4396841).
Remove the old filter and inspect the housing for debris or buildup. Wipe it clean with a damp cloth before inserting the new filter. After installation, run 2–3 gallons of water through the dispenser to flush the system and purge air. Don’t skip this step, air pockets in the line can prevent the ice maker from filling properly.
If the filter housing is damaged or leaking, the system may lose pressure, which stops ice production. Hairline cracks in the filter head or stripped threads on twist-in models are telltale signs. Replacement filter housings are inexpensive and straightforward to swap.
Using the fridge without a filter (with a bypass plug) is an option if you’re in a pinch, but you’ll sacrifice water quality and risk sediment reaching the inlet valve, which can cause clogs. For households serious about appliance maintenance and longevity, keeping filters fresh is non-negotiable.
A note on aftermarket vs. OEM filters: third-party filters are cheaper, but quality varies. Stick with NSF-certified options to ensure they meet safety and performance standards. Cheap knock-offs can shed carbon fines into the water line, fouling the inlet valve.
Bonus tip for whirlpool refrigerator ice maker reset: Many Whirlpool models don’t have a dedicated reset button. Instead, powering the unit off at the breaker for 5 minutes and then restoring power effectively resets the ice maker’s control board. After reset, follow the test button procedure described earlier to confirm the unit cycles correctly. For guidance on handling refrigerator repairs, including when to attempt DIY troubleshooting versus calling a pro, consider professional resources alongside this guide.
If you’ve worked through all seven fixes, verified the switch, checked the water supply and inlet valve, confirmed freezer temperature, cleared jams, and replaced the filter, and the Whirlpool refrigerator ice maker is still not making ice, the issue is likely internal: a failed ice maker module, a bad temperature sensor, or a control board fault. At that point, parts and labor for whirlpool refrigerator ice maker repair often approach the cost of a new ice maker assembly ($100–$200 depending on model). Consult a licensed appliance technician for diagnosis, especially if the unit is still under warranty. Most appliance troubleshooting advice recommends professional help once you’ve exhausted the accessible fixes, there’s no shame in calling in a pro when electronics and sealed systems are involved.