Walk-in refrigerators aren’t something most homeowners deal with daily, but if you’ve converted a basement room, garage space, or outbuilding into cold storage, or inherited one with a property purchase, keeping it operational becomes critical fast. Unlike the compact fridge in your kitchen, a walk-in unit manages higher volume, constant door traffic, and more aggressive insulation demands. When something goes wrong, spoilage losses add up quickly. The good news? Many common failures trace back to straightforward mechanical issues or deferred maintenance. Understanding what breaks, why it breaks, and which repairs you can tackle yourself will save time, money, and a lot of thawed inventory.
Table of Contents
ToggleKey Takeaways
- Walk-in refrigerator repair begins with identifying early warning signs like door seal failures, condensate drain blockages, and evaporator coil icing to prevent costly downtime and spoilage.
- DIY troubleshooting for walk-in refrigerator issues includes checking power, inspecting door gaskets, clearing drain lines, and cleaning condenser coils—steps that often eliminate the need for professional service.
- Monthly, quarterly, and annual maintenance tasks such as gasket inspection, coil cleaning, and professional refrigerant checks prevent expensive repairs and extend unit lifespan by decades.
- Refrigerant work, compressor replacement, and complex electrical diagnostics require licensed HVAC technicians with EPA 608 certification—DIY attempts are illegal and unsafe.
- Walk-in refrigerator repair costs range from $50–$200 for gaskets to $500–$2,500 for compressors, with professional labor at $100–$200 per hour; replacement becomes cost-effective when repairs exceed 50% of replacement cost.
Common Walk-In Refrigerator Problems and Warning Signs
Walk-in refrigerators fail in predictable patterns. Recognizing early warning signs separates a minor fix from a total system replacement.
Door seal failures rank highest. Gaskets compress over time, especially around hinges and strike plates. Run your hand along the closed door perimeter, any airflow means the seal is compromised. Frost buildup along door edges confirms the leak.
Condensate drain blockages cause water pooling inside the unit or near the floor outside. Algae, mold, and debris clog the drain line, forcing condensation backward. You’ll notice puddles, ice dams near the evaporator coil, or a musty smell.
Evaporator coil icing happens when airflow drops or refrigerant charge runs low. The coil frosts over completely, blocking air circulation. Temperature climbs, and the compressor runs nonstop trying to compensate.
Compressor or condenser fan issues show up as unusual noise, grinding, clicking, or total silence when the unit should be running. Overheating is another red flag: touch the compressor housing (carefully). If it’s too hot to hold your hand on for more than a second, something’s wrong.
Electrical component failures include relay switches, capacitors, and thermostats. Symptoms range from the unit not starting at all to erratic cycling that never reaches target temp.
Temperature Fluctuations and Cooling Issues
Temperature swings are the most visible symptom but pinpointing the cause takes systematic testing. Start by checking your thermometer accuracy, use an independent digital probe thermometer, not just the built-in display. Place it in the center of the space, away from the door and evaporator coil. Wait 30 minutes and compare readings.
If the thermometer confirms fluctuations, check airflow patterns. Walk-ins rely on forced-air circulation. Blocked vents, overloaded shelving, or poorly stacked inventory restrict airflow and create hot spots. Rearrange contents to ensure at least 3–4 inches of clearance around vents and coils.
Refrigerant leaks cause gradual temperature rise over days or weeks. You might hear hissing near copper lines or notice oily residue around fittings. This requires a licensed HVAC technician, refrigerant handling demands EPA 608 certification, and DIY recharging is both illegal and unsafe.
Thermostat drift is common in older units. The sensor may read incorrectly or fail to trigger the compressor. Test by manually lowering the setpoint 5°F. If the compressor kicks on immediately, the thermostat likely needs recalibration or replacement.
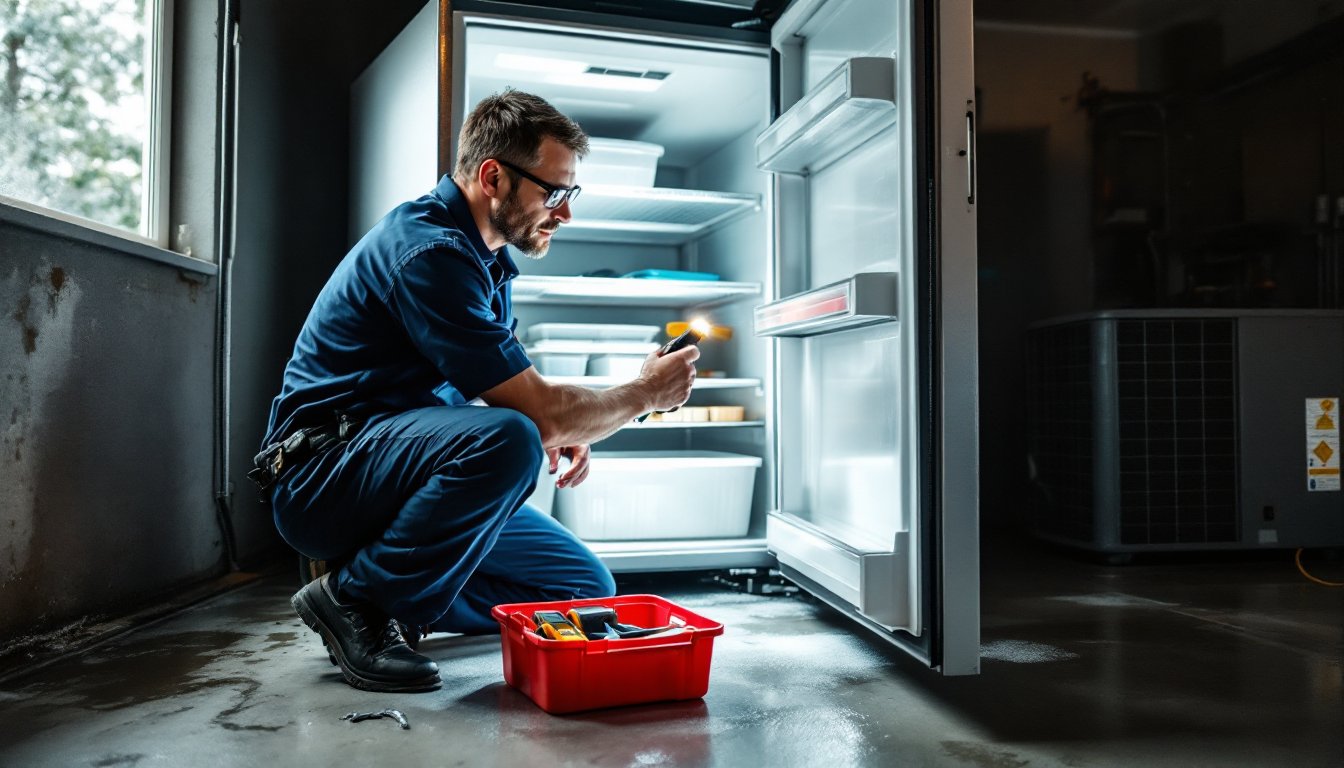
DIY Troubleshooting Steps Before Calling a Professional
Most walk-in refrigerator issues respond to methodical troubleshooting. Start with the simplest explanations before assuming major component failure.
Check power and breakers first. Walk-ins typically run on dedicated 208–240V circuits. Verify the breaker hasn’t tripped. Look for a reset button on the compressor itself, many units include thermal overload protection that trips during high-load events.
Inspect door seals and hinges. Close the door on a dollar bill at multiple points around the perimeter. If you can pull the bill out easily, the seal is weak. Replace worn gaskets, most are held by screws or snap into a retention channel. Measure the old gasket before ordering: dimensions vary by manufacturer. Adjustment screws on hinges can often tighten a sagging door and restore seal contact.
Clear the condensate drain line. Locate the drain pan under the evaporator coil (usually inside the unit, low on the back wall). Pour a mixture of hot water and white vinegar down the drain line. If it backs up, use a wet/dry vacuum on the exterior drain outlet to pull the clog free. For stubborn blockages, a length of ¼-inch vinyl tubing or a pipe brush works. Regular flushing with diluted bleach prevents algae buildup.
Defrost the evaporator coil manually. If the coil is encased in ice, the defrost cycle isn’t working. Turn off the unit and leave the door open with fans running to accelerate melting. This can take 4–6 hours. Once clear, monitor defrost cycles (usually every 6–8 hours). If icing returns quickly, the defrost timer, heater, or termination thermostat is faulty.
Clean condenser coils and fan blades. The condenser (typically mounted on the roof or exterior wall) dissipates heat. Dirty coils force the compressor to work harder and run hotter. Brush off dust and debris with a stiff nylon brush. Spray coils with coil cleaner (available at HVAC supply shops) and rinse with a garden hose. Avoid pressure washers, they bend fins. Straighten any bent fins with a fin comb.
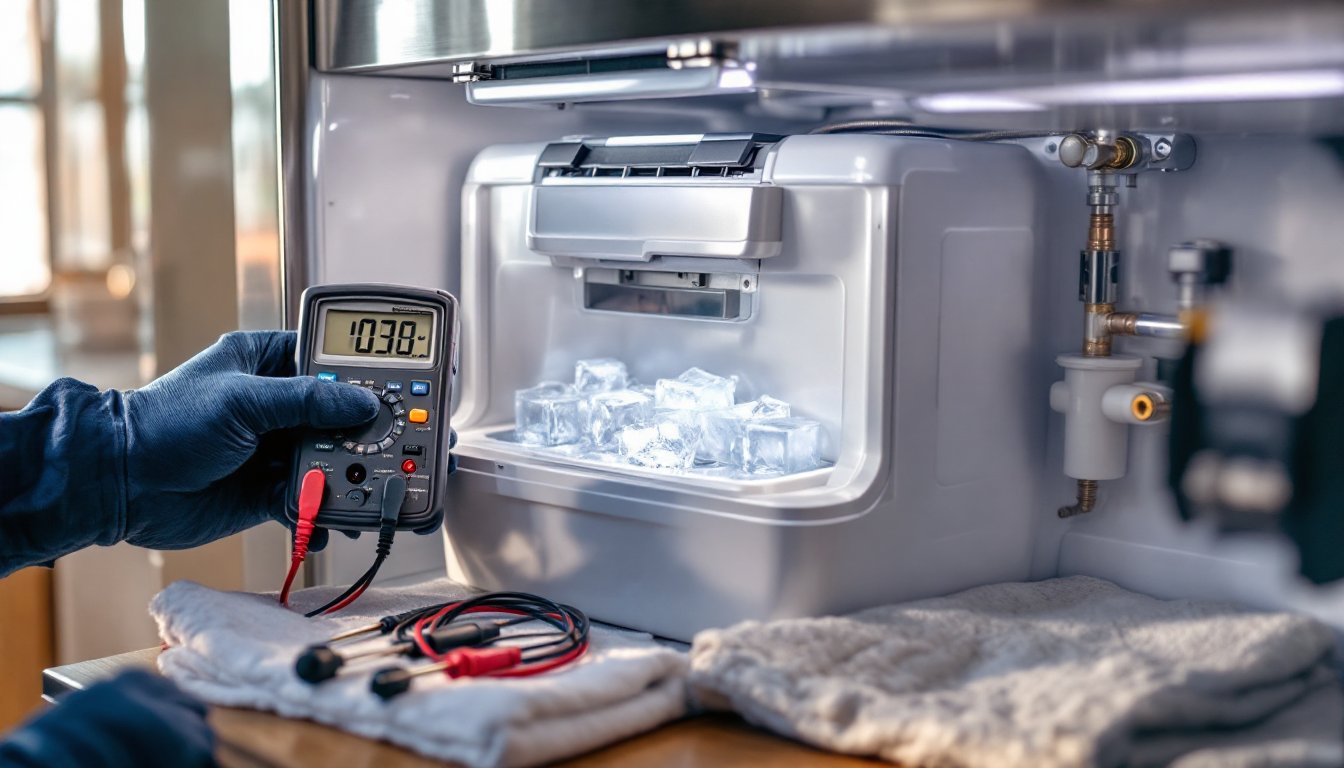
Test the thermostat and temperature sensors. Use a multimeter to check continuity on the thermostat. With the unit powered off, disconnect the thermostat wires and test across terminals. At room temperature, most thermostats should show continuity. If not, replace it. Verify the sensor bulb (often a long capillary tube) hasn’t been damaged or displaced.
According to troubleshooting steps outlined by refrigerator repair experts, systematic diagnosis prevents unnecessary service calls and helps identify the exact component at fault.
Essential Maintenance to Prevent Costly Repairs
Preventive maintenance is non-negotiable for walk-in refrigerators. These systems run 24/7 and don’t tolerate neglect.
Monthly tasks:
- Inspect door gaskets for cracks, tears, or compression set. Wipe down with mild detergent to remove grease and sticky residue that degrades rubber.
- Check and tighten hinge bolts. A sagging door stresses both hinges and gaskets.
- Flush the condensate drain line with hot water and vinegar.
- Verify that interior and exterior lighting works. Failed lights can mask other issues and create safety hazards.
Quarterly tasks:
- Clean condenser coils and fan blades. Schedule this more often in dusty or high-pollen environments.
- Vacuum evaporator coil fins (when the unit is off). Use a soft brush attachment to avoid damage.
- Test door alarm and safety release mechanisms. Walk-ins must have interior emergency exits per building codes, ensure these aren’t blocked or frozen shut.
- Check refrigerant line insulation for tears or compression. Exposed lines lose efficiency and collect condensation.
Annual tasks:
- Replace air filters if your unit has them.
- Inspect all electrical connections for corrosion, especially in humid environments. Tighten terminal screws on contactors and relays.
- Lubricate fan motors if they have oil ports (most modern sealed-bearing motors don’t require this).
- Calibrate or replace the thermometer. Even a 2–3°F error impacts food safety and energy costs.
- Schedule a professional inspection for refrigerant charge, compressor amp draw, and defrost cycle timing. An HVAC tech can spot developing issues before they become emergencies.
Safety gear for maintenance work: Wear cut-resistant gloves when handling coil fins and sharp edges, safety glasses to protect from coil cleaner spray, and a dust mask when brushing condenser coils. If you’re working near live electrical components, use insulated tools and consider killing power at the breaker.
Many DIY enthusiasts document their maintenance routines with photo logs and checklists, this approach helps track wear patterns and schedule part replacements before failures occur.
When to Call a Professional Repair Technician
Some repairs cross the line from DIY territory into licensed tradesperson work. Knowing that boundary prevents safety hazards, code violations, and warranty voiding.
Refrigerant work is always professional-only. Adding, recovering, or leak-testing refrigerant requires EPA 608 certification. Venting refrigerant is illegal, and improper charging damages the compressor. If you suspect a refrigerant leak (gradual temperature loss, hissing sounds, oily residue), call a commercial HVAC tech.
Compressor replacement or major electrical repairs exceed most DIYers’ skill and tool sets. Compressors are heavy, require brazing refrigerant lines, and involve high-voltage wiring. Improper installation leads to premature failure and potential fire hazards.
Control board and relay diagnostics can be tricky. While swapping a relay or capacitor is straightforward, diagnosing which component failed in a complex control circuit requires test equipment and system knowledge. If you’ve replaced obvious parts (thermostat, door switch) and the unit still misbehaves, bring in a pro.
Structural or insulation issues need professional assessment. If the walk-in was a DIY conversion or came with a property purchase, insulation thickness, vapor barriers, and door frame integrity may not meet commercial standards. Poor insulation causes chronic condensation, mold growth, and compressor overwork.
Persistent water intrusion or drainage problems sometimes trace back to improper floor slope or compromised vapor barriers in walls. A commercial refrigeration contractor can evaluate whether the problem is mechanical or structural.
Searching for “walk in refrigerator repair near me” is the fastest way to locate qualified technicians. Commercial refrigeration specialists differ from residential appliance repair techs, verify they have experience with walk-in units, not just household fridges. Ask about response times, emergency service availability, and whether they stock common parts for your unit’s make and model.
Permit and code considerations: If you’re converting a space into a walk-in cooler, most jurisdictions require electrical and building permits. The unit needs a dedicated circuit sized for the compressor load, and the space must meet fire code (often including a self-closing, latchless door with interior lighting and alarm). Modifications to existing units, especially electrical upgrades, may also trigger permit requirements. Check with your local building department before starting work.
Cost Factors and Budgeting for Walk-In Refrigerator Repairs
Repair costs vary widely based on component type, labor rates, and unit accessibility. Understanding cost drivers helps you budget and prioritize maintenance.
Parts:
- Door gaskets: $50–$200 depending on size and whether it’s a stock or custom profile
- Thermostats and sensors: $40–$150
- Relays and capacitors: $15–$75 each
- Evaporator fan motors: $100–$300
- Condenser fan motors: $150–$400
- Compressors: $500–$2,500 (plus labor, which often doubles the total)
- Control boards: $200–$600
Labor rates for commercial HVAC technicians run $100–$200 per hour, with a typical service call minimum of 1–2 hours. Emergency or after-hours service adds 50–100% surcharges.
Refrigerant recharging costs $200–$600 depending on the type (R-404A, R-134a, R-290) and how much is needed. Leak detection and repair add to this.
Full system replacement starts around $3,000 for small (6×8 ft) prefab units and climbs to $10,000+ for custom-built or larger installations. At some point, repeated major repairs make replacement the smarter financial choice, generally when repair costs exceed 50% of replacement cost, or the unit is more than 15 years old.
Energy costs factor into long-term budgeting. A poorly maintained or failing walk-in can double your electricity usage. If your utility bills have crept up without a clear reason, inefficient refrigeration is a likely culprit.
Insurance and warranty considerations: Some homeowner policies exclude commercial equipment or require riders for coverage. If you’re using the walk-in for a business (farm stand, catering, etc.), verify your policy covers it. Extended warranties on new installations can pay off, commercial refrigeration service is expensive, and failures often happen outside business hours when rates are highest.
For those managing kitchen cold storage, budgeting for routine maintenance and occasional parts replacement keeps a walk-in operational far longer than neglecting small issues until major failures occur.
Conclusion
Walk-in refrigerators demand attention but reward consistent care with decades of reliable service. Most failures announce themselves early, temperature swings, strange noises, visible ice buildup, giving you time to act before spoilage or total shutdown. Handle the straightforward stuff yourself: door seals, drain lines, coil cleaning, and basic electrical checks. Know when to step back and call in licensed help for refrigerant work, compressor swaps, and complex diagnostics. Budget for both routine maintenance and the occasional parts replacement, and you’ll avoid the sticker shock of emergency service calls at the worst possible moment.