Cabinets are the unsung heroes of any home, quietly holding everything from spices to secrets. But when they start to show their age or suffer from a mishap, it can feel like a mini-crisis. Fear not! Cabinet repair is the superhero your kitchen didn’t know it needed. With a little TLC, those tired cabinets can regain their charm and functionality without the hefty price tag of a full replacement.
Table of Contents
ToggleUnderstanding Cabinet Repair
Cabinet repair encompasses the process of restoring cabinets to their functional and aesthetic appeal. Identifying damage types and applying suitable repair techniques proves crucial in achieving effective results.
Types of Cabinet Damage
Cabinet damage occurs in various forms. Scratches impact the surface, leading to visible wear and tear. Water damage affects cabinets in moisture-prone areas, resulting in warping or swelling. Dents often appear due to impact, causing visual imperfections. Hardware issues arise from loose or broken hinges, handles, or knobs. Each type of damage requires specific attention for proper repair.
Common Repair Techniques
Repair techniques vary based on the type of damage. For scratches, using a wood filler or touch-up marker helps restore the surface. Water damage mitigation involves drying out materials and replacing warped sections. Dent repairs typically involve applying heat with a hairdryer to reshape the cabinet’s surface. Hardware replacement includes securing new hinges or handles for improved functionality. Choosing the right technique ensures a successful cabinet restoration.
Tools and Materials Needed
Repairing cabinets requires specific tools and materials to ensure effective results. Having the right items on hand eases the repair process and enhances the outcome.
Essential Tools for Cabinet Repair
A screwdriver is vital for removing and installing hardware. A hammer assists in driving nails or making adjustments during repairs. Measuring tape ensures precision in cut dimensions and alignment. A utility knife allows for cutting through damaged material or trimming edges. Sandpaper smooths rough surfaces and prepares them for finishing. Clamps hold components firmly in place during the repair process. A heat gun helps to remove old finishes, while a putty knife assists with applying fillers accurately.
Recommended Repair Materials
Wood filler repairs scratches and small dents, seamlessly blending with the cabinet finish. Paint or stain matches the cabinet color, restoring its original look. Varnish provides a protective layer, enhancing durability and shine. Adhesive can bond broken pieces securely, ensuring stability. Replacement hardware, like knobs and hinges, updates functionality and aesthetics. Caulk seals gaps and prevents moisture damage, preserving cabinet integrity. Sanding sealer prepares surfaces for treatment, resulting in a smoother final appearance.
Step-by-Step Cabinet Repair Process
Cabinet repair involves a series of steps to ensure effective restoration. Each step plays a crucial role in achieving a professional finish.
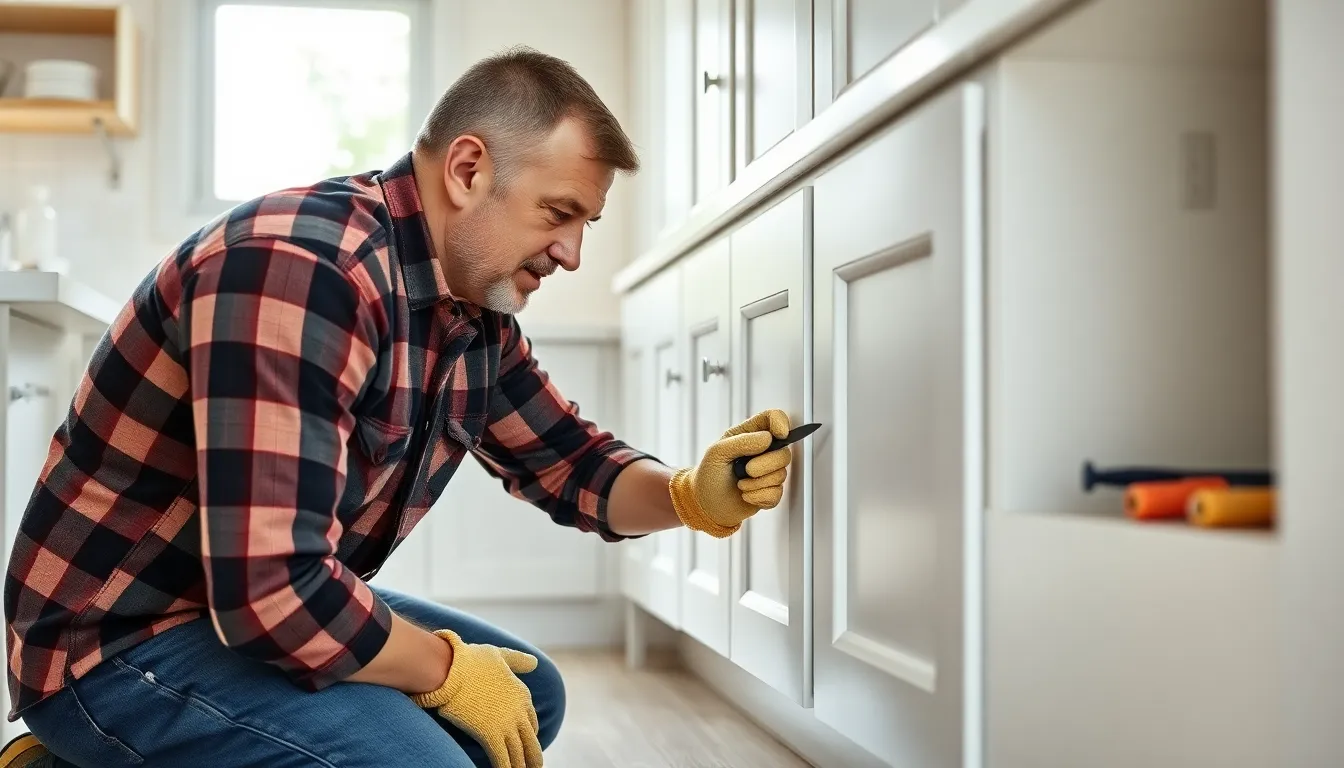
Assessing the Damage
Begin by thoroughly inspecting the cabinets. Look for visible issues like scratches, water damage, dents, and hardware problems. Document the extent of damage to determine the necessary repairs. For minor scratches, wood filler may suffice. Water damage often requires drying out materials before applying repair techniques. Dents need heat application to regain shape. Identifying specific damage types simplifies the repair process and informs material choices.
Preparing for Repair
Gather all necessary tools and materials before starting repairs. Essential tools include a screwdriver, hammer, measuring tape, and sandpaper. Make sure to have wood filler, paint, or stain on hand for surface restoration. Clean the cabinet surfaces to remove dirt and debris. Sand rough areas to create a smooth base for repairs. Proper preparation enhances the effectiveness of subsequent steps, leading to better results.
Executing the Repair
Start by applying wood filler to scratches and allowing it to dry completely. Once dried, sand it smooth and blend it with the surrounding area. For water damage, ensure materials are dry and apply appropriate sealants to prevent future issues. Use heat to fix dents effectively, followed by sanding to achieve a uniform surface. Finally, replace any broken hardware to improve functionality. Following this process methodically yields durable and visually appealing cabinets.
When to Hire a Professional
Identifying when to hire a professional for cabinet repair can save time and ensure quality results. Homeowners should watch for several signs that indicate the need for expert assistance.
Signs Your Cabinets Need Expert Help
Visible cracks or severe water damage often require professional insight. Dents that do not respond to simple heat techniques may indicate deeper issues. Peeling paint or discoloration signals potential underlying problems, too. Loose or broken hardware suggests the need for skilled intervention to ensure proper functionality. If repairs have been attempted previously without success, professional help may restore cabinets to their original condition.
Benefits of Professional Repair Services
Hiring a professional brings multiple advantages in cabinet repair. Expertise ensures proper assessment and tailored solutions for various damage types. Professionals use specialized tools and materials that might not be readily available to homeowners. Quality work often includes warranties, providing peace of mind for future repairs. Relying on an experienced technician enhances the longevity of cabinets, making a more cost-effective investment over time.
Maintaining Cabinets After Repair
Maintaining cabinets after repair ensures their longevity and preserves their appearance. Implementing a few key practices helps prevent future damage.
Tips for Preventing Future Damage
Avoid placing heavy items on shelves without proper supports. Use coasters under pots and pans to prevent heat and moisture damage. Regularly check for water leaks, especially around sinks. Ensure proper ventilation in areas with humidity to reduce mold growth. Clean cabinet surfaces carefully with gentle cleaners to avoid scratches. Inspect door hinges and handles to catch loose hardware before it worsens.
Regular Maintenance Practices
Schedule routine cleaning sessions to keep cabinets looking new. Wipe down surfaces weekly to remove dust and grime. Every few months, apply a wood conditioner to protect from drying and cracking. Inspect for signs of wear such as scratches or discoloration. Address minor issues immediately to prevent them from escalating. Keep the area surrounding cabinets clutter-free to avoid accidental damage.
Cabinet repair offers a practical solution for homeowners looking to restore their cabinets without the expense of a full replacement. By understanding the types of damage and employing the right techniques and tools, individuals can achieve impressive results.
Regular maintenance and care can significantly extend the life of repaired cabinets. Whether tackling minor repairs or seeking professional help for more extensive damage, taking action ensures cabinets remain functional and aesthetically pleasing. With the right approach, cabinets can continue to serve their purpose while enhancing the overall look of the home.